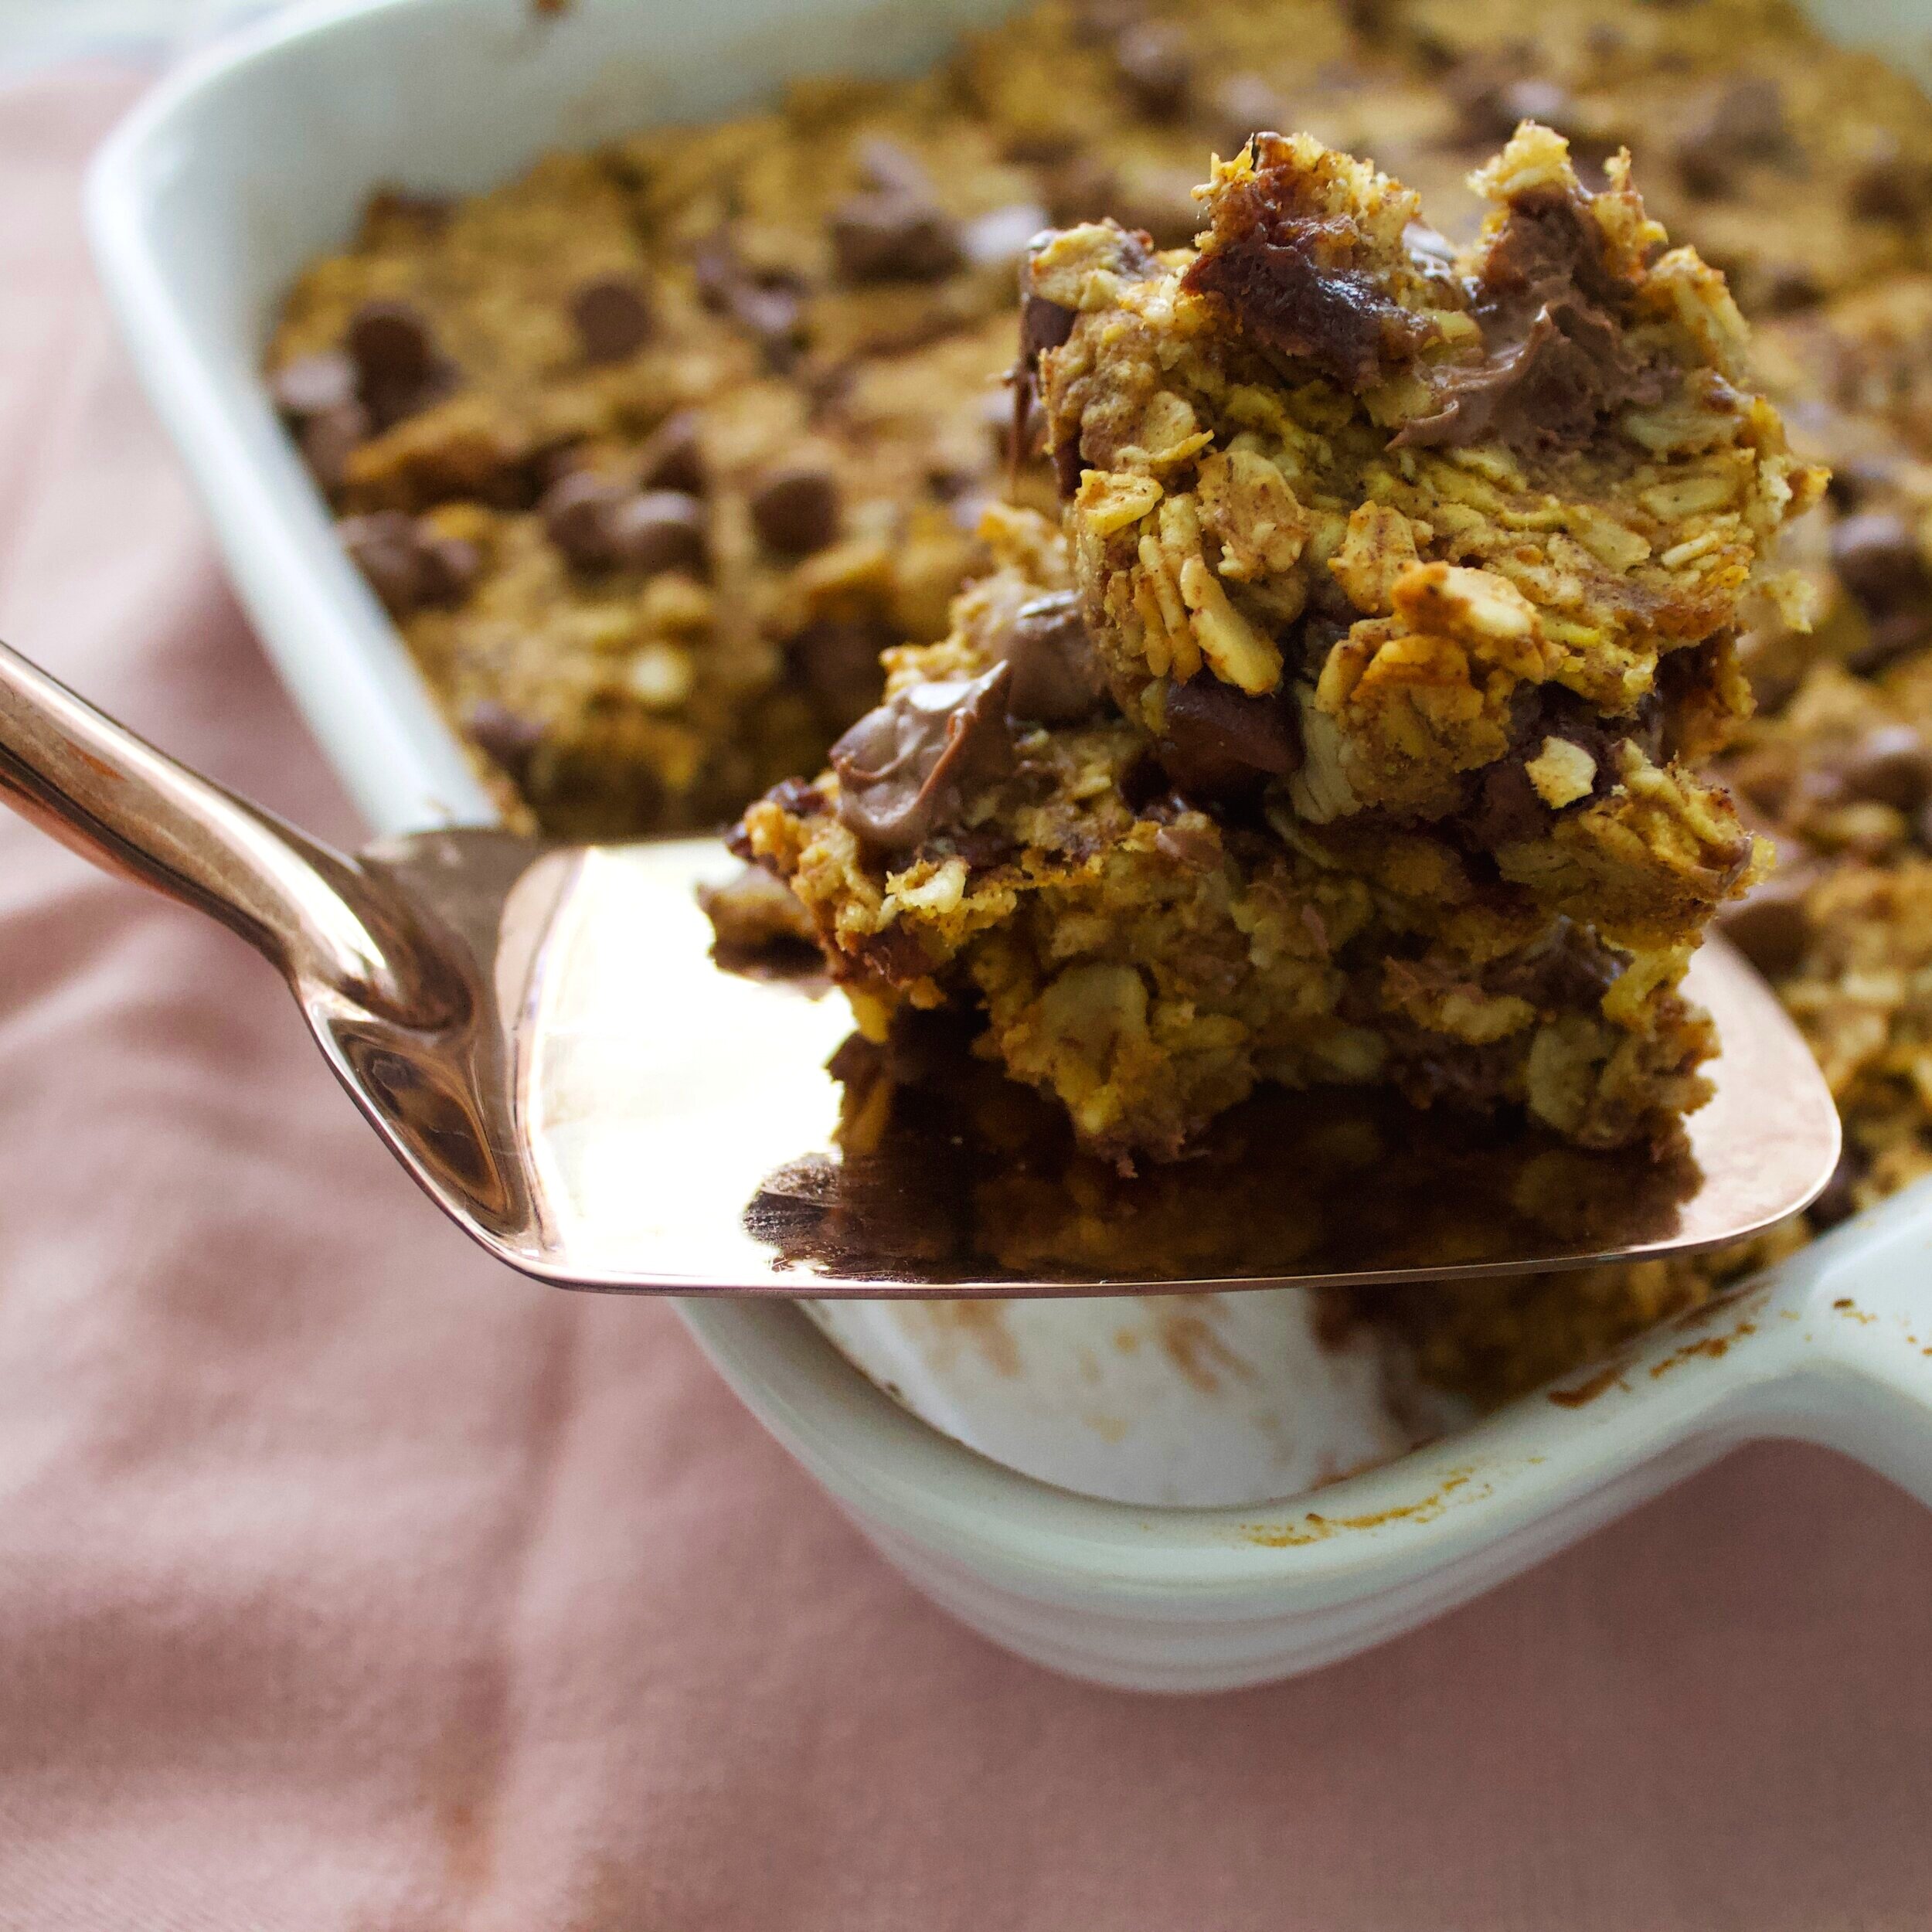
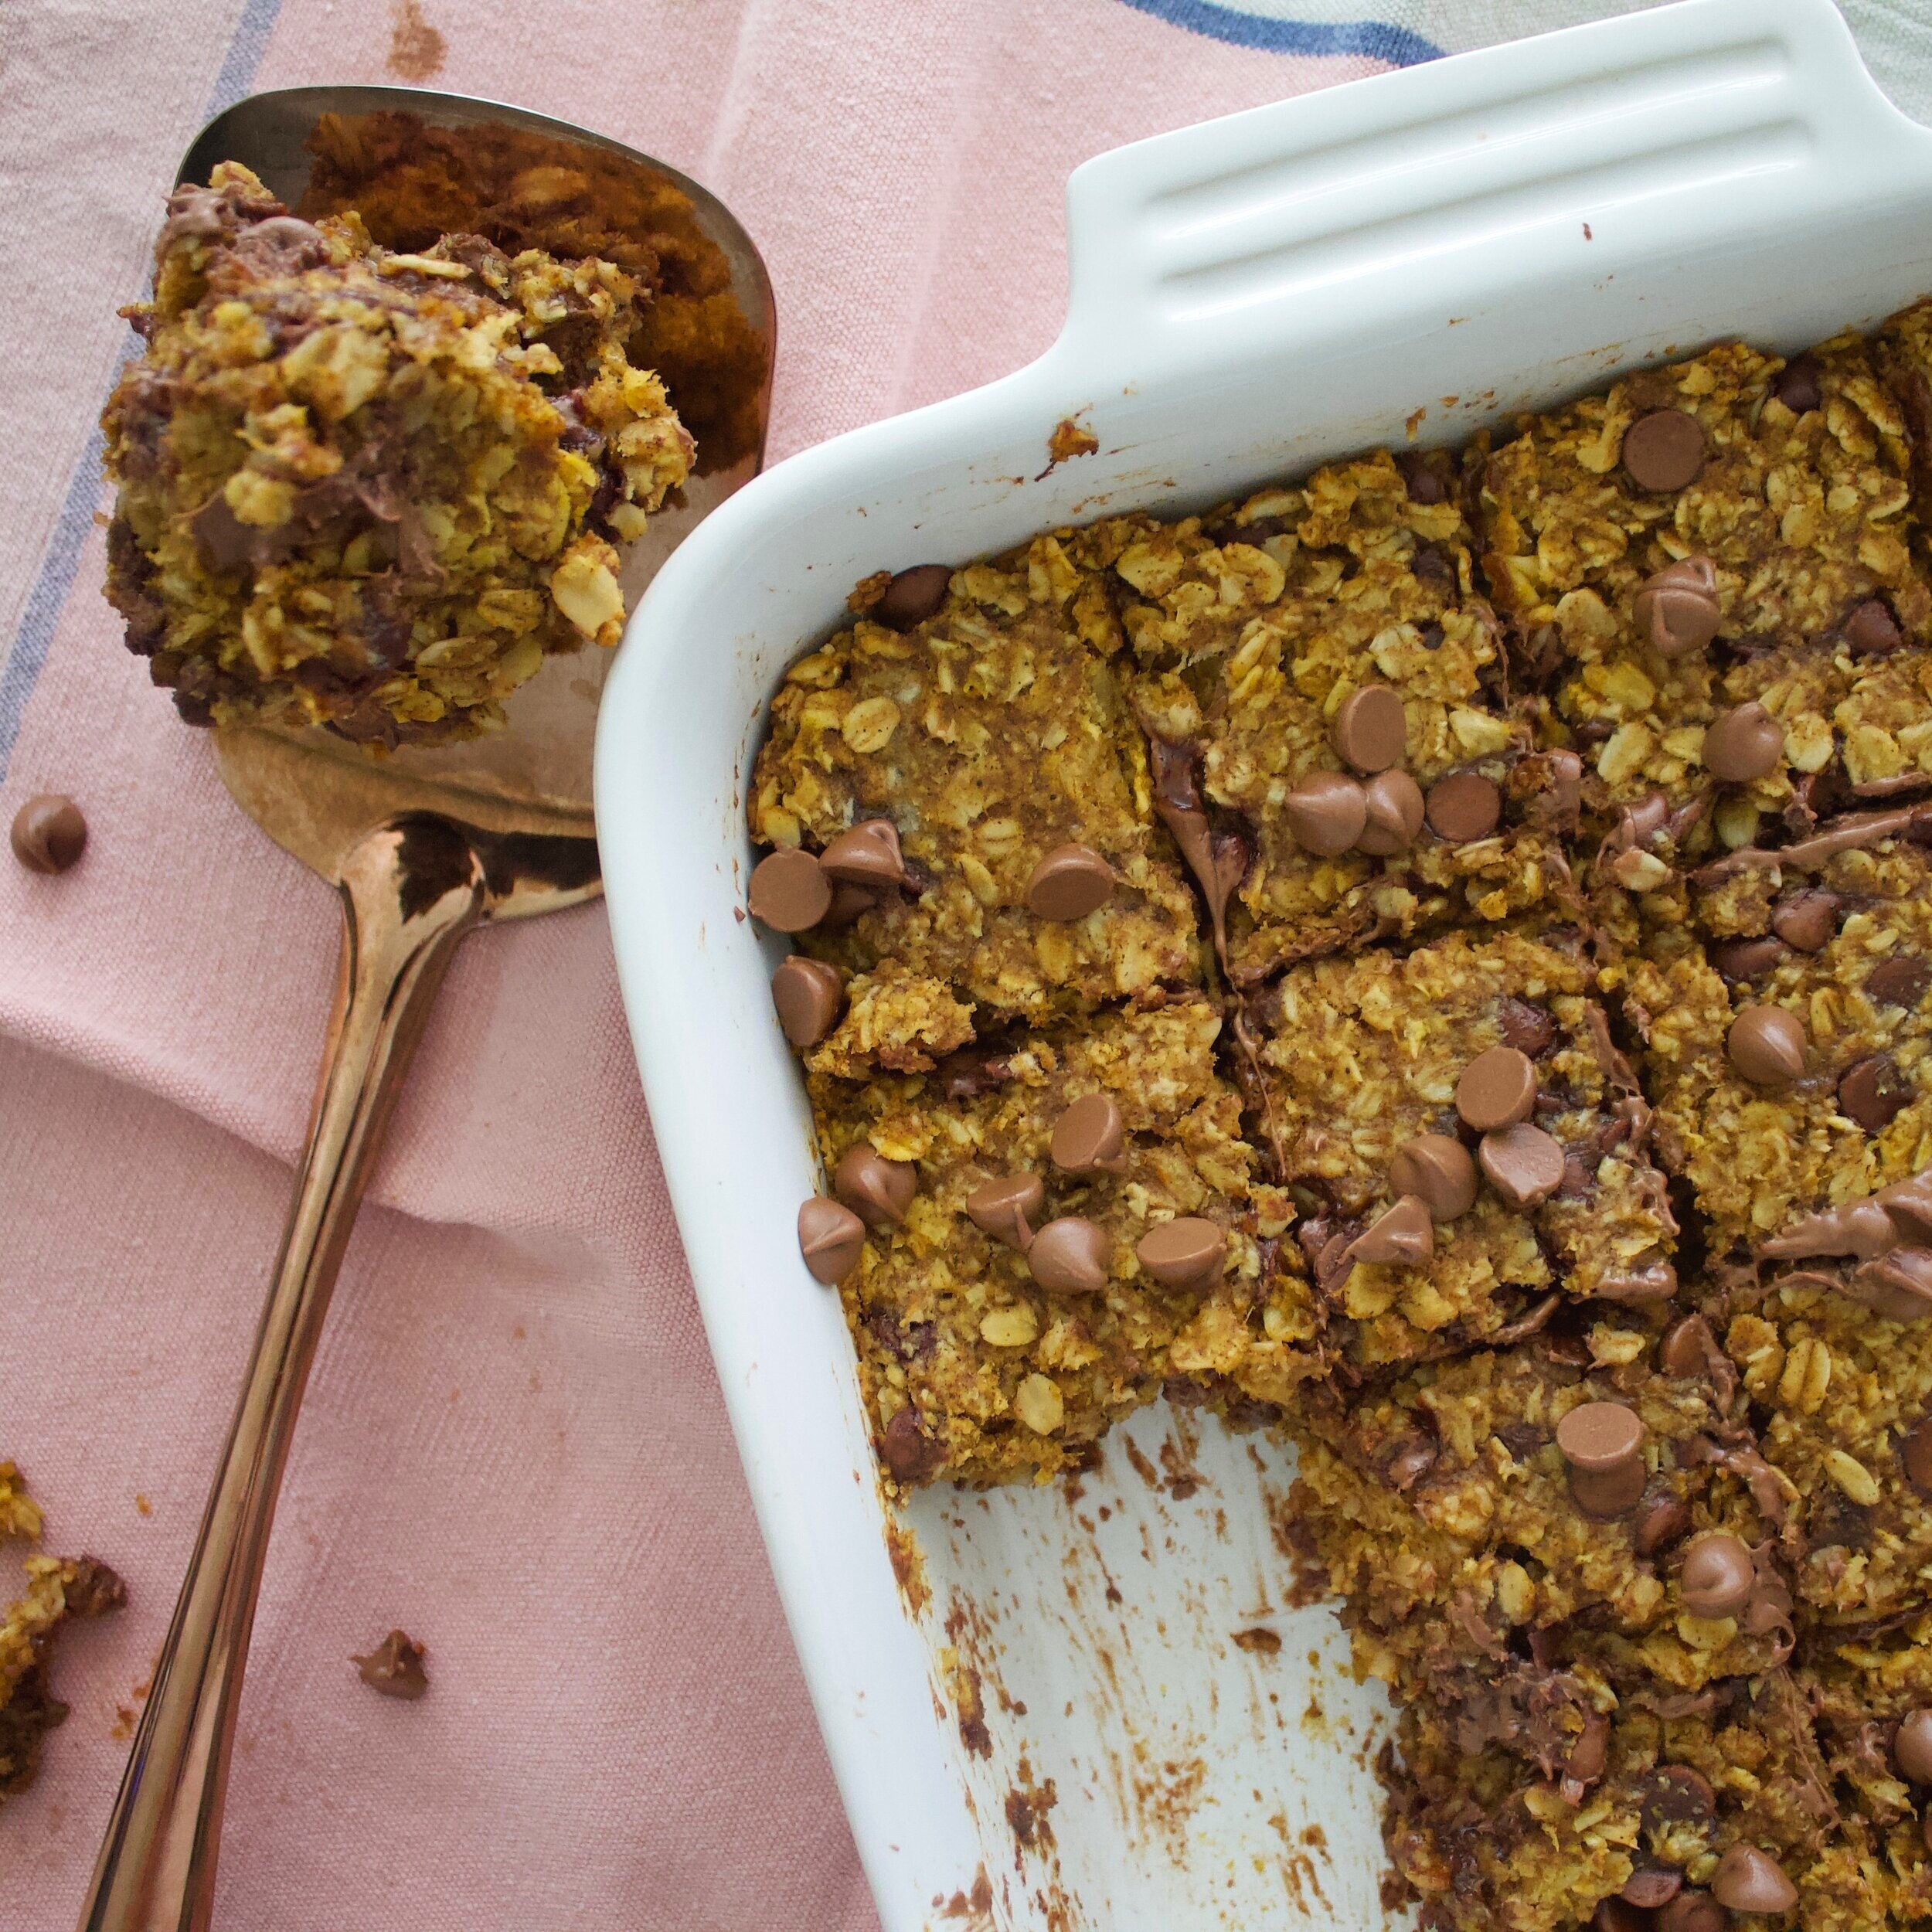
Banana Pumpkin Oat Bars

What did you do as a child that created timelessness that made you forget time? There lies the myth to live by.
— Joseph Campbell
IMG_9012.jpg

I figure one pumpkin recipe is a must for the start of each fall, so here you go! A [basically] raw dessert that’s packed full of spice, oats, pumpkin and chocolate—how can one go wrong here?! Ya can’t.

I have been seeing this meme a lot lately about how blogs go on and on in the intro about their personal life when all you want is the damn recipe…this hit hard for me because that’s exactly what I do! Anyways…I’ll try to make these intros short and sweet, but I mean, I also love to spill my thoughts here, so you get what you get!

Back to the excitement of these bars! If you haven’t caught on yet, my entire world changed 8 months ago when little O was born! Do I have less time to do things? Sure. Am I always running after him now and making sure he doesn’t eat the dog food? Of course. Do I love every dang second with this guy? Hell yes! Even though my life is quite different now that I have this wild boy, I didn’t want to just STOP baking. I want him to be that kid whose mom makes the best dessert that his friends get excited about coming over for! Duh. But now I need to do things at DOUBLE SPEED. His naps are becoming less and less as he gets older and his ability to just stay in one spot is nonexistent! Which is why I’m about #quickbaking for us parents!

These bars take 5-10 minutes to throw together, or if you have a baby who is trying to eat all of the dirt in your potted plants, it may take you about 20. From there, throw these babies into the oven for about 25 minutes and BAM! you’ve got the gooiest, perfectly sweet lovely little snacks.

Super allergen friendly if that’s something you’re worried about, too! Gluten free, vegan (if you think honey isn’t vegan, sub that for agave or maple syrup!), nut free! They aren’t over-the-top sweet which is my jam these days, they have the PERFECT flavor of pumpkin, of spices, of chocolate—honestly, they blow all other pumpkin desserts and snacks out of the water!

IMG_8982.jpg
IMG_8984.jpg
IMG_8991.jpg
IMG_8996.jpg
IMG_9002.jpg
IMG_9005.jpg
IMG_9012.jpg
IMG_9018.jpg
IMG_9021.jpg

 ingredients

Oats—12 oz, or 4 C

Baking Powder—1 tsp

Cinnamon—2 tsp (heaping)

Nutmeg—1 tsp

Ginger—1 tsp

Cloves—½ tsp

Salt—1 tsp

Pumpkin purée—8.5 oz, or 1 C

Banana, mashed—1 small, or ½ large, about 3.5 oz

Coconut Oil, melted—2.75 oz, or 1/3 C

Honey—4 oz, or 1/3 C

Chocolate Chips—8 oz, or 1 C


process

Preheat your oven to 350˚F

In a large bowl, combine your oats, baking powder, cinnamon, nutmeg, cloves, ginger and salt

Mix to combine

Mix in the pumpkin purée and mashed banana

Add the melted oil

Fold in the chocolate chips

Put into an 8” x 8” baking pan

Bake for 22-25 minutes, until the center looks set

Allow to cool either at room temperature or in the refrigerator for at least 30 minutes

Cut into squares, I did 16 for this batch

Store in a sealed container in the fridge!


Bon Appétit!

Dairy Free Chocolate Truffles

Love is the bridge between you and everything.
— Rumi
IMG_8593.jpg

Since having Oliver, I have truly found that there is nothing I love more than a quick snack, especially one that I can also enjoy as a dessert!

Could I take the time to make something that takes me hours and is super complex? Sure! Do I want to? No! Like I’ve mentioned, I cannot wait until Oliver is old enough to help me in the kitchen (if he wants to, of course!), so maybe I will feel more inclined to spend over an hour+ baking. For now, I like things short and sweet! I get the bulk of my things done while he is napping, which now we are lucky if he naps 3 times per day! When he’s up, it’s constant playing, reading, going for walks, bouncing, swimming, eating…the list goes on and on! If I really need to get something done or take a break myself, sure, I will put some Moana on for a few minutes and he is SO fine just zoning out to watch them. And, who am I kidding, I’m all about it, too!

About a week ago, during a nap, I tried to make the oh-so-popular energy balls/bites, what have you and they tasted like SAWDUST. I actually thought I was going to choke with how bad they were! Must husband took 1 bite and gladly passed. Nothing helped them go down easy, so they went right in the trash! This week, I didn’t want another dry, choking hazard recipe, so I made sure to add in something other than just coconut oil to bind the nut flour. BOOM. Got it!

Nut butter for the win!

Once I perfected the recipe and ate probably half of the dough, I knew it was a winner. These babies taste like chocolate truffles!! They’re rich, creamy, satisfying, while also dairy free (!!), vegan (!!), and just SO DANG GOOD. As always, they’re nice and quick. They can be a dessert, an afternoon pick-me-up, a pre-workout energy bite—these babies have some range, let me tell you! So, while we are still all at home, spice up your date nights with them, give yourself a boost with them, treat yo’self with a few while you watch a movie on a wild Friday night, just be careful because these are ADDICTING!

IMG_8568.jpg
IMG_8573.jpg
IMG_8577.jpg
IMG_8579.jpg
IMG_8589.jpg
IMG_8595.jpg


ingredients

Almond Flour—4.25 oz, or 1 C

Nut Butter—4 oz, or ½ C

Dates, pitted—8

Cocoa Powder—1.5 oz, or ½ C

Collagen Powder—2 scoops

Salt—1 tsp

Cinnamon—1 TBL

Vanilla Extract—1 tsp

Coconut Oil, melted—2 oz, or ¼ C

Chocolate Chips—2.25 oz, or 1/3 C


process

In the bowl of your food processor, with the blade, combine the almond flour, nut butter**, dates, cocoa powder, collagen, salt, cinnamon and vanilla extract.

Pulse until combined.

Once combined and with the food processor on, stream in the coconut oil. Stop when all combined and forms a ball.

Add in the chocolate chips and pulse for 5-10 seconds.

Take a small scoop and scoop out the dough, placing them on a parchment lined tray or a Silpat.

Place in the refrigerator to firm up a bit.

This part is optional, but so worth it! Melt either some chocolate or nut butter, drizzle on top of the set truffles, sprinkle with salt.

Allow to set again in the refrigerator.

Once set, can all be stored together in an airtight container in the fridge.

**For the nut butter, I did a combination of peanut butter and almond butter, as I find that peanut butter can be VERY sweet! The combination here is great, it doesn’t overpower any of the chocolate in these bites, or make them overly sweet, either! Of course, all peanut butter, or any other nut butter, is perfectly fine!**


Bon Appétit!

Healthy Granola Bars

Have I mentioned that I am the ultimate snacker? While I try to make the better decisions like carrots and nuts, if a chocolate chip gets in my line of sight, I can’t help myself and just go for it!

With winter upon us and Storm Jonas covering our little city of Charleston in about 18” of snow, the most physical activity that we’ll be getting anytime soon is shoveling, shoveling and more shoveling, meaning that choosing healthy and filling snacks is a must. Do I wish that I had a little bit more self-control and focused more on meals and less on snacks? Absolutely! But then I wouldn’t be able to eat these insanely good granola bars, or these Whole Wheat Muffins packed with protein, so maybe snacking is the way to go!

On Thursday when I headed to the supermarket the day before the big storm hit, I stocked up on the must haves—fruits, veggies, lots of milk, coconut flour, chips and salsa…

I got home, and was like yes, chips and salsa are fabulous, but if we want something hearty, healthy and filling when it’s time to find our cars under the snow, we need a little something else. Roberto and I really love a good granola bar, but sometimes they can be full of ingredients that no one has ever heard of, and that’s just a no go in this house!

Cue in these granola bars.

The base had to be oaty and nutty for me, always! From there, you can really add anything—spices, seeds, fruit, chocolate! The option of a nut flour is definitely there, but coconut flour adds a slight sweetness, so you can add little to no sugar in the rest of the bar. I love all types of dried fruit, and the dried cranberries can be swapped for something else. The crucial points in this bar? Oats, coconut flour, honey and peanut butter. It is best to use honey over agave or maple syrup because it has more of a viscous texture compared to the others and therefore will hold the bar together better. Almond flour and butter instead of coconut flour and peanut butter? Certainly—you can change that!

If I haven’t won you over so far, get ready for this. This recipe makes 8 bars. Each bar comes in at a delicious 225 calories, 13g of fat and 5g of protein! Tell me you aren’t grabbing your mixing bowl right now!

These granola bars are super healthy, full of great quality ingredients and will fuel all activities—from shoveling to stacking wood to all of your winter storm fun!

ingredients

Oats—1.5 oz, or ½ C

Coconut Flour—1.5 oz, or ¼ C

Pecans, chopped—2 oz, or ½ C

Dried Cranberries—1.5 oz, or ¼ C

Cayenne Pepper—¼ tsp

Cinnamon—½ tsp

Chia Seeds—0.2 oz, or 1 tsp

Salt—¼ tsp

Honey—2.5 oz, or ¼ C

Peanut Butter—3.25 oz, or 1/3C

Vanilla Extract—0.2 oz, or 1 tsp

Chocolate Chips—3 oz, or ¼ C + 1 TBL


process

Preheat your oven to 300˚ F.

In a bowl, combine the oats, flour, pecans, cranberries, cayenne pepper, cinnamon, chia seeds and salt. Mix.

In a heat proof bowl, combine the honey and peanut butter.

Heat in the microwave, or it can be over the stove in a pot, until the peanut butter is nice a melted. *I like to use crunchy peanut butter for this recipe, it gives the bars an added crunch factor—but creamy is fine too!*

Once melted, add in the vanilla extract, and pour all into the dry ingredients mixture.

Using either your hands or a spatula, mix until combined. Your granola mixture will feel slightly stiff, but that’s what you want!

Fold in the chocolate chips.

*You may add the chocolate chips in with the rest of the dry ingredients and mix with the melted peanut butter and honey. The end result in taste is the same, but the chips will melt, making your bars more a chocolate color!*

To bake, I use a square 8”x8” pan, line it with parchment and press the bars evenly into the pan.

Bake in your preheated oven for about 18-20 minutes, until the oats just start to brown.

*You could also freeze the bars instead of baking to hold their shape, but I love the crispy oat texture and taste!*

Remove from the oven and allow to cool.

Cut into bars—you will get 8 out of this pan, and they are only 225 calories each!


Bon Appétit!