Caramel Apple Upside Down Cakes

Can we get to the place where there is no place to get to?
— Michael Stone
IMG_9165.jpg

How is it possible that in 30 years of my life, I am just now making an apple upside-down cake?! These little babes have changed the game!

There’s nothing like a pineapple upside down cake, am I right? It’s so sweet and gooey and honestly, perfect. Years ago, I made a pineapple upside down layer cake—now THAT was extravagant! But, this year, it’s like something hit me and I finally made a caramel apple upside down cake. YUM. As my husband loves all things apples—he has his own honey crisp apple section at our house, loves apple pie, we had an apple pie tier in our wedding cake… I decided to make these for our anniversary this year! Sadly, it was sort of a fail, they just didn’t come out the way that I wanted, mainly because it was so last minute, and I was pressed with time as our baby was most likely crawling around like a madman! Anyways, I knew that I needed another go with these, so, voilà, we did it!

To start, I made a caramel. All on its own. On the stovetop, like the true pastry chef that I am! (laughs a little) And from there, I used a tried and true banana cake recipe that I have, tweaked it slightly, and made that the cake! It’s so dang moist (sorry!), not overly sweet, the perfect blend of fall spices, this is what dreams are made of—thank you Hilary Duff. Was I nervous that the caramel would stick when I took them out of the oven? Duh! But did it? Hell no. This cake seriously must love me because it came out so. dang. perfect.

So now, about a month after our anniversary, I have the most incredible anniversary cake for you! Of course, I did make these mini chocolate anniversary cakes years ago, and those are GOOD, but these are better! What can I say, we love an upside-down cake, we love an apple!

Oh, can I also add in that I made these all within Oliver’s 90-minute nap?! I believe it took me under an hour from start to finish, including the clean up!


IMG_9136.jpg
IMG_9138.jpg
IMG_9142.jpg
IMG_9143.jpg
IMG_9146.jpg
IMG_9162.jpg
IMG_9168.jpg
IMG_9165.jpg

caramel ingredients

Butter—2 oz, or 4 TBL

Brown Sugar—2.75 oz, or 1/3 C

Cinnamon—1 tsp

Vanilla Extract—½ tsp

Apple—1 medium


process

In a small sauce-pot, melt the butter and brown sugar together

Allow to boil for 1 minute

Remove from the heat and mix in the cinnamon and vanilla

Pour into the bottoms of your muffin pan, I used a large muffin pan, this makes 6

Press your apple slices on top of the caramel and set aside while you make the cake batter


cake ingredients

Butter, softened—4 oz, or ½ C

Coconut Sugar—4 oz, or 2/3 C

Banana—2 medium, ripe

Vanilla Extract—1 tsp

Flour—5.5 oz, or 1 C

Baking Powder—¾ tsp

Baking Soda—½ tsp

Salt—½ tsp

Cinnamon—2 tsp

Cloves—½ tsp

Milk—2 oz, or ¼ C


process

Preheat your oven to 350˚ F

In a large bowl, combine your softened butter and sugar

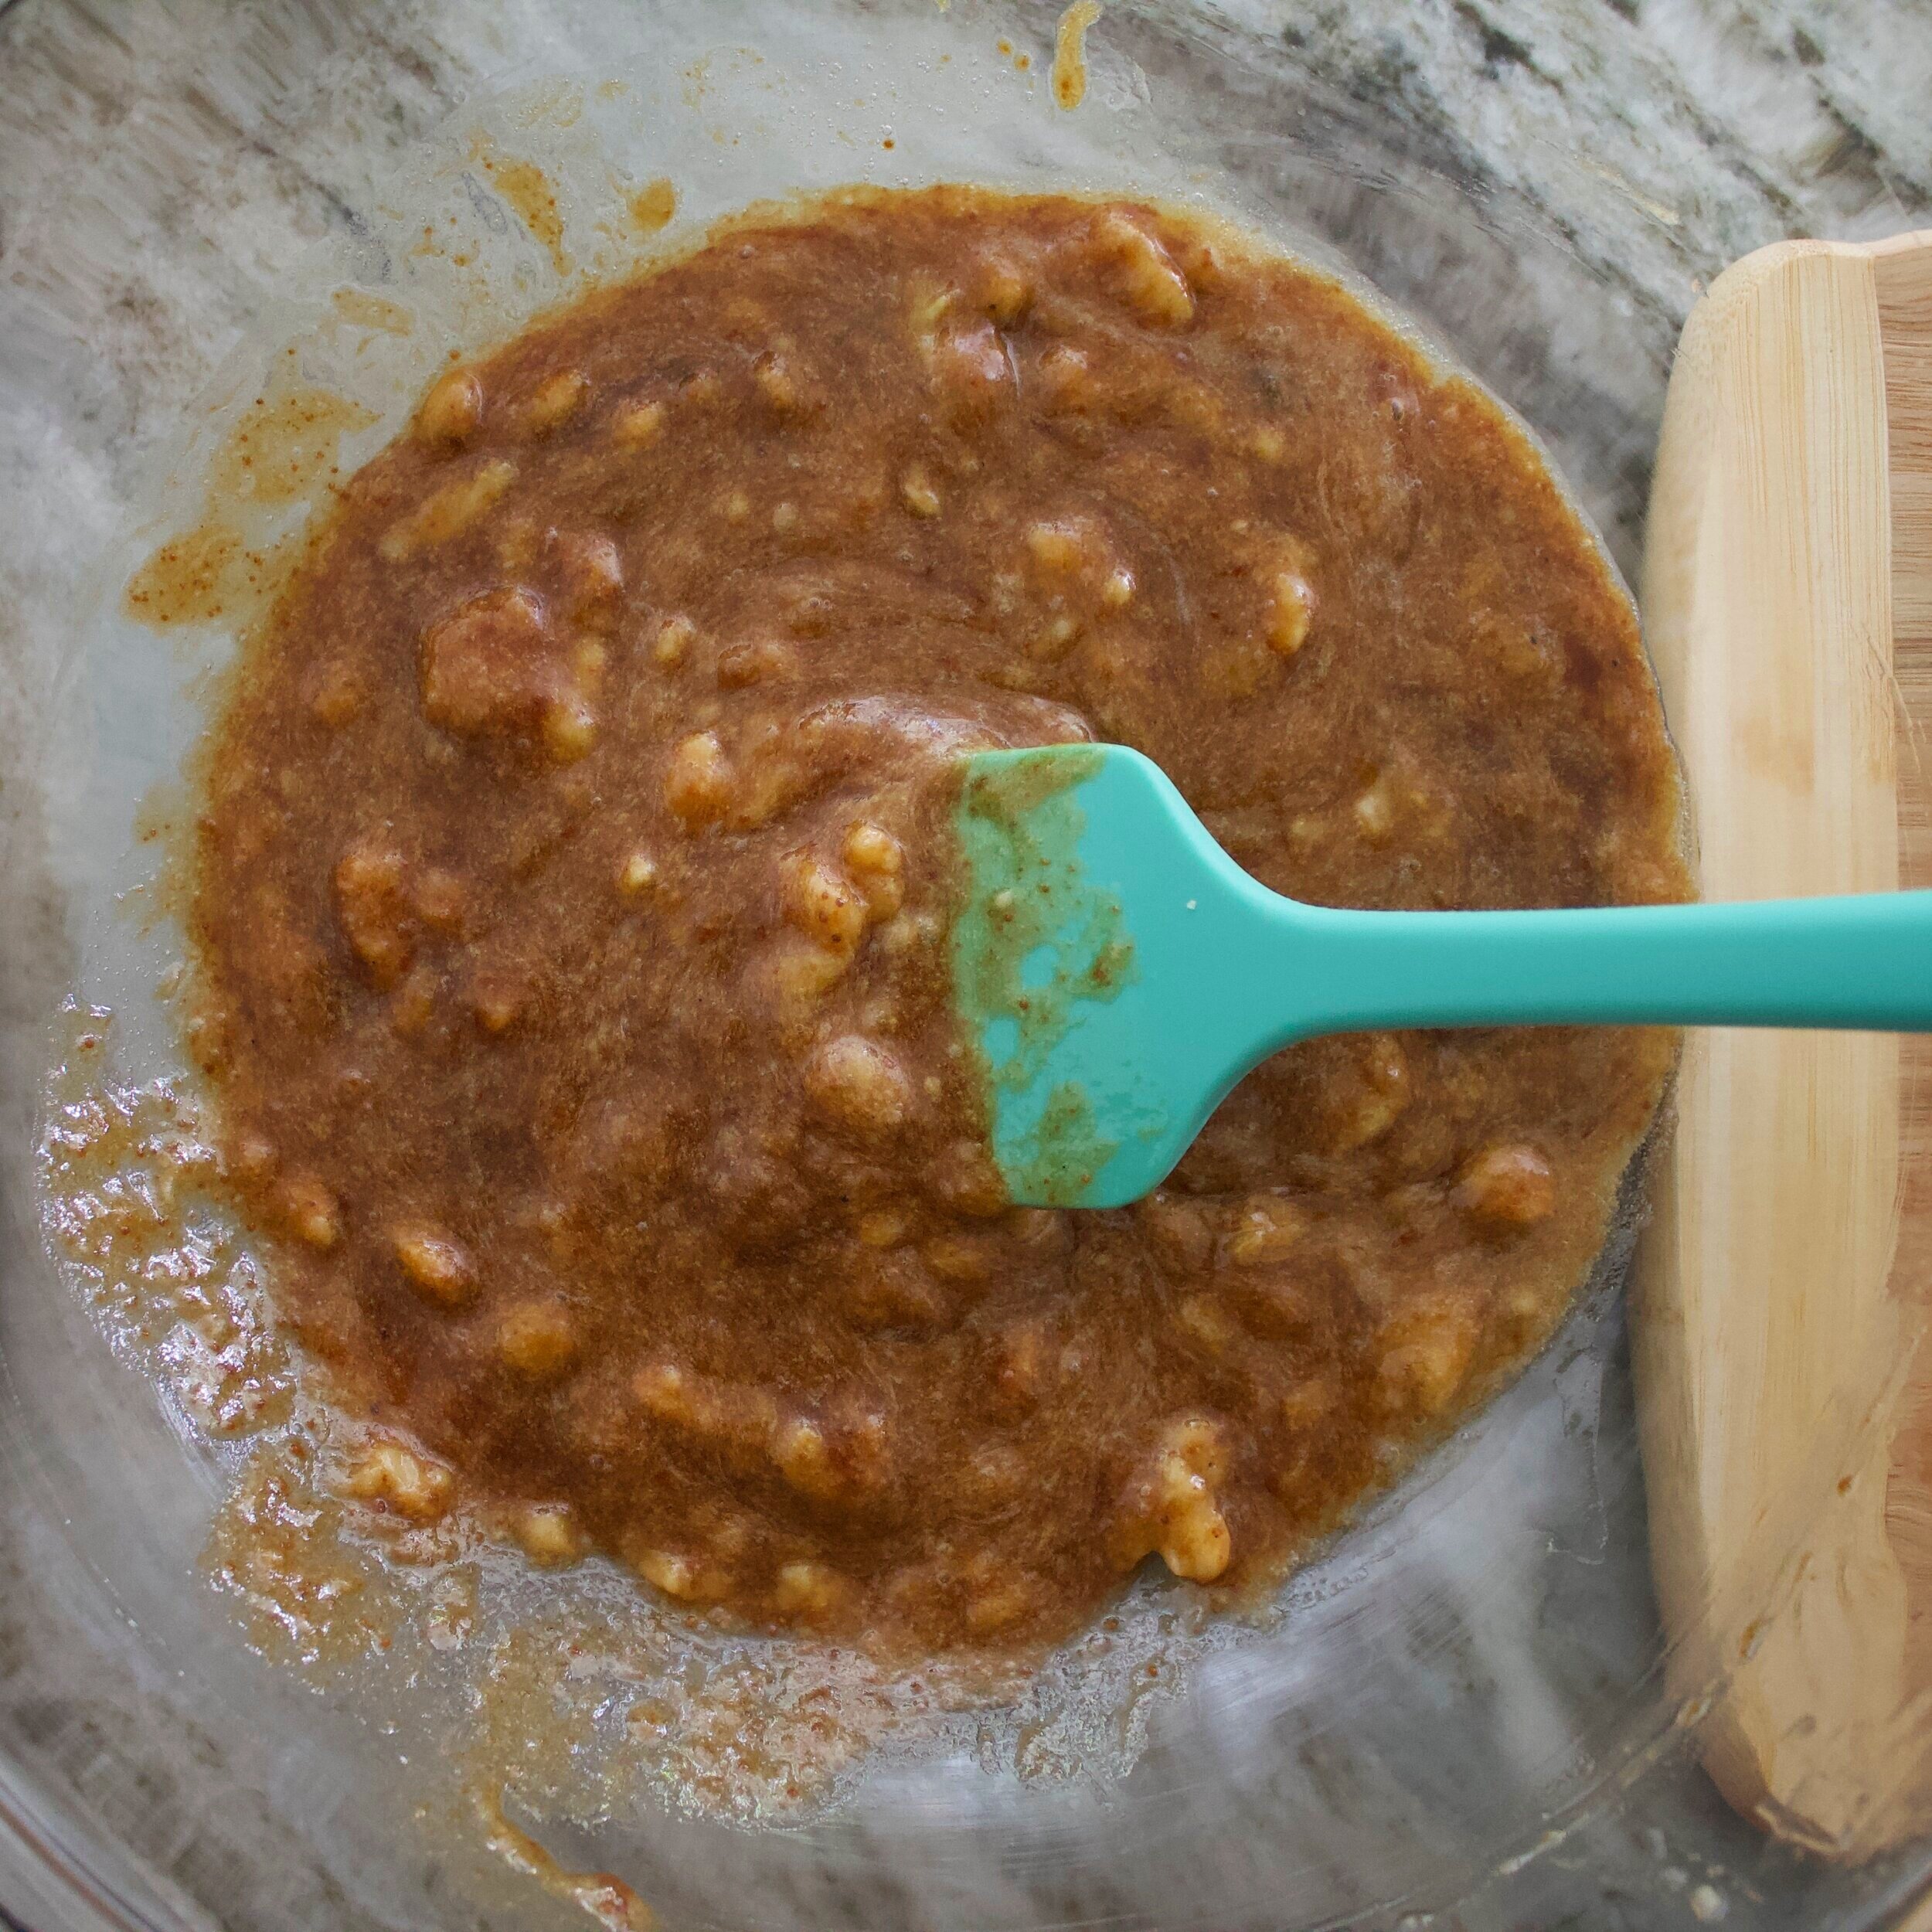
Mix in the mashed banana—I find very brown bananas are best for the job!

Add vanilla

In another bowl, soft together the flour, baking powder, baking soda, salt, cinnamon and cloves

Add this to the wet ingredients and fold in until just combined

Add in the milk

Fill up each muffin cup until they are about ¾ of the way full

Bake in the oven for 15 minutes, then rotate the pan, and bake for another 10-12

The cakes should spring back when touched, and you can always do the toothpick test.

Remove from the oven and allow to cool for a couple of minutes

Carefully, flip the muffin pan over before the caramel becomes too solid and cool

To enjoy, warm up so you have a soft caramel and a warm cake!


Bon Appétit!

IMG_9183.jpg

Tahini Caramel Bars

The universe is full of magic things, patiently waiting for our senses to become sharper.
— Eden Phillpotts
IMG_8828.jpg

I am welcoming a new love into my life: tahini!

I believe that I only have ONE recipe on here with tahini in it?! How is that possible?! And it’s from almost 4 years ago!! What. The. Heck. Anyways! This tahini caramel is out of this world. Dare I say that I prefer this to just a regular old caramel? I just might…

This exciting mix of being dairy free, baking with whole ingredients that actually taste good, and doing it all with a 6-month-old while also having been unable to really go anywhere since he was born is truly quite an adventure! I can no longer gain inspiration for things by going places, so it’s been far too much screen time and imagination for me to really get ideas for baking, for life, etc., which I both love and then also sort of dislike. I am constantly making lists in my head about places I want our family to travel to once we actually can, telling Oliver how many incredible things we will do once it’s allowed and safe, how fun airplanes are (I also love airports…), all of the food he’s going to get to try! Even just making these lists and going over them with my baby, yes, I have full on adult conversations with him, excites me as I want to truly spoil him with travel and life experiences!

All of this being said, during one of my weekly as-fast-as-possible grocery trips, I picked up some tahini and welcomed it like a long-lost friend. Is it a super unique ingredient? Not so much. Is it an incredible flavor that Oliver will be trying on his foods soon? Absolutely!! He began to try foods with spices on them this week and, let me tell you, cinnamon roasted carrots were a (messy) hit! So, while I sit here every day, or while I’m chasing our quick little 6-month-old around the house, I think of all of the foods Oliver is going to try when we can get out of our few block radius, jump on a plane, get in the car and drive for a few hours, whatever we can do to up his culture. For now, it’s going to start at home, start with this simple jar of tahini!

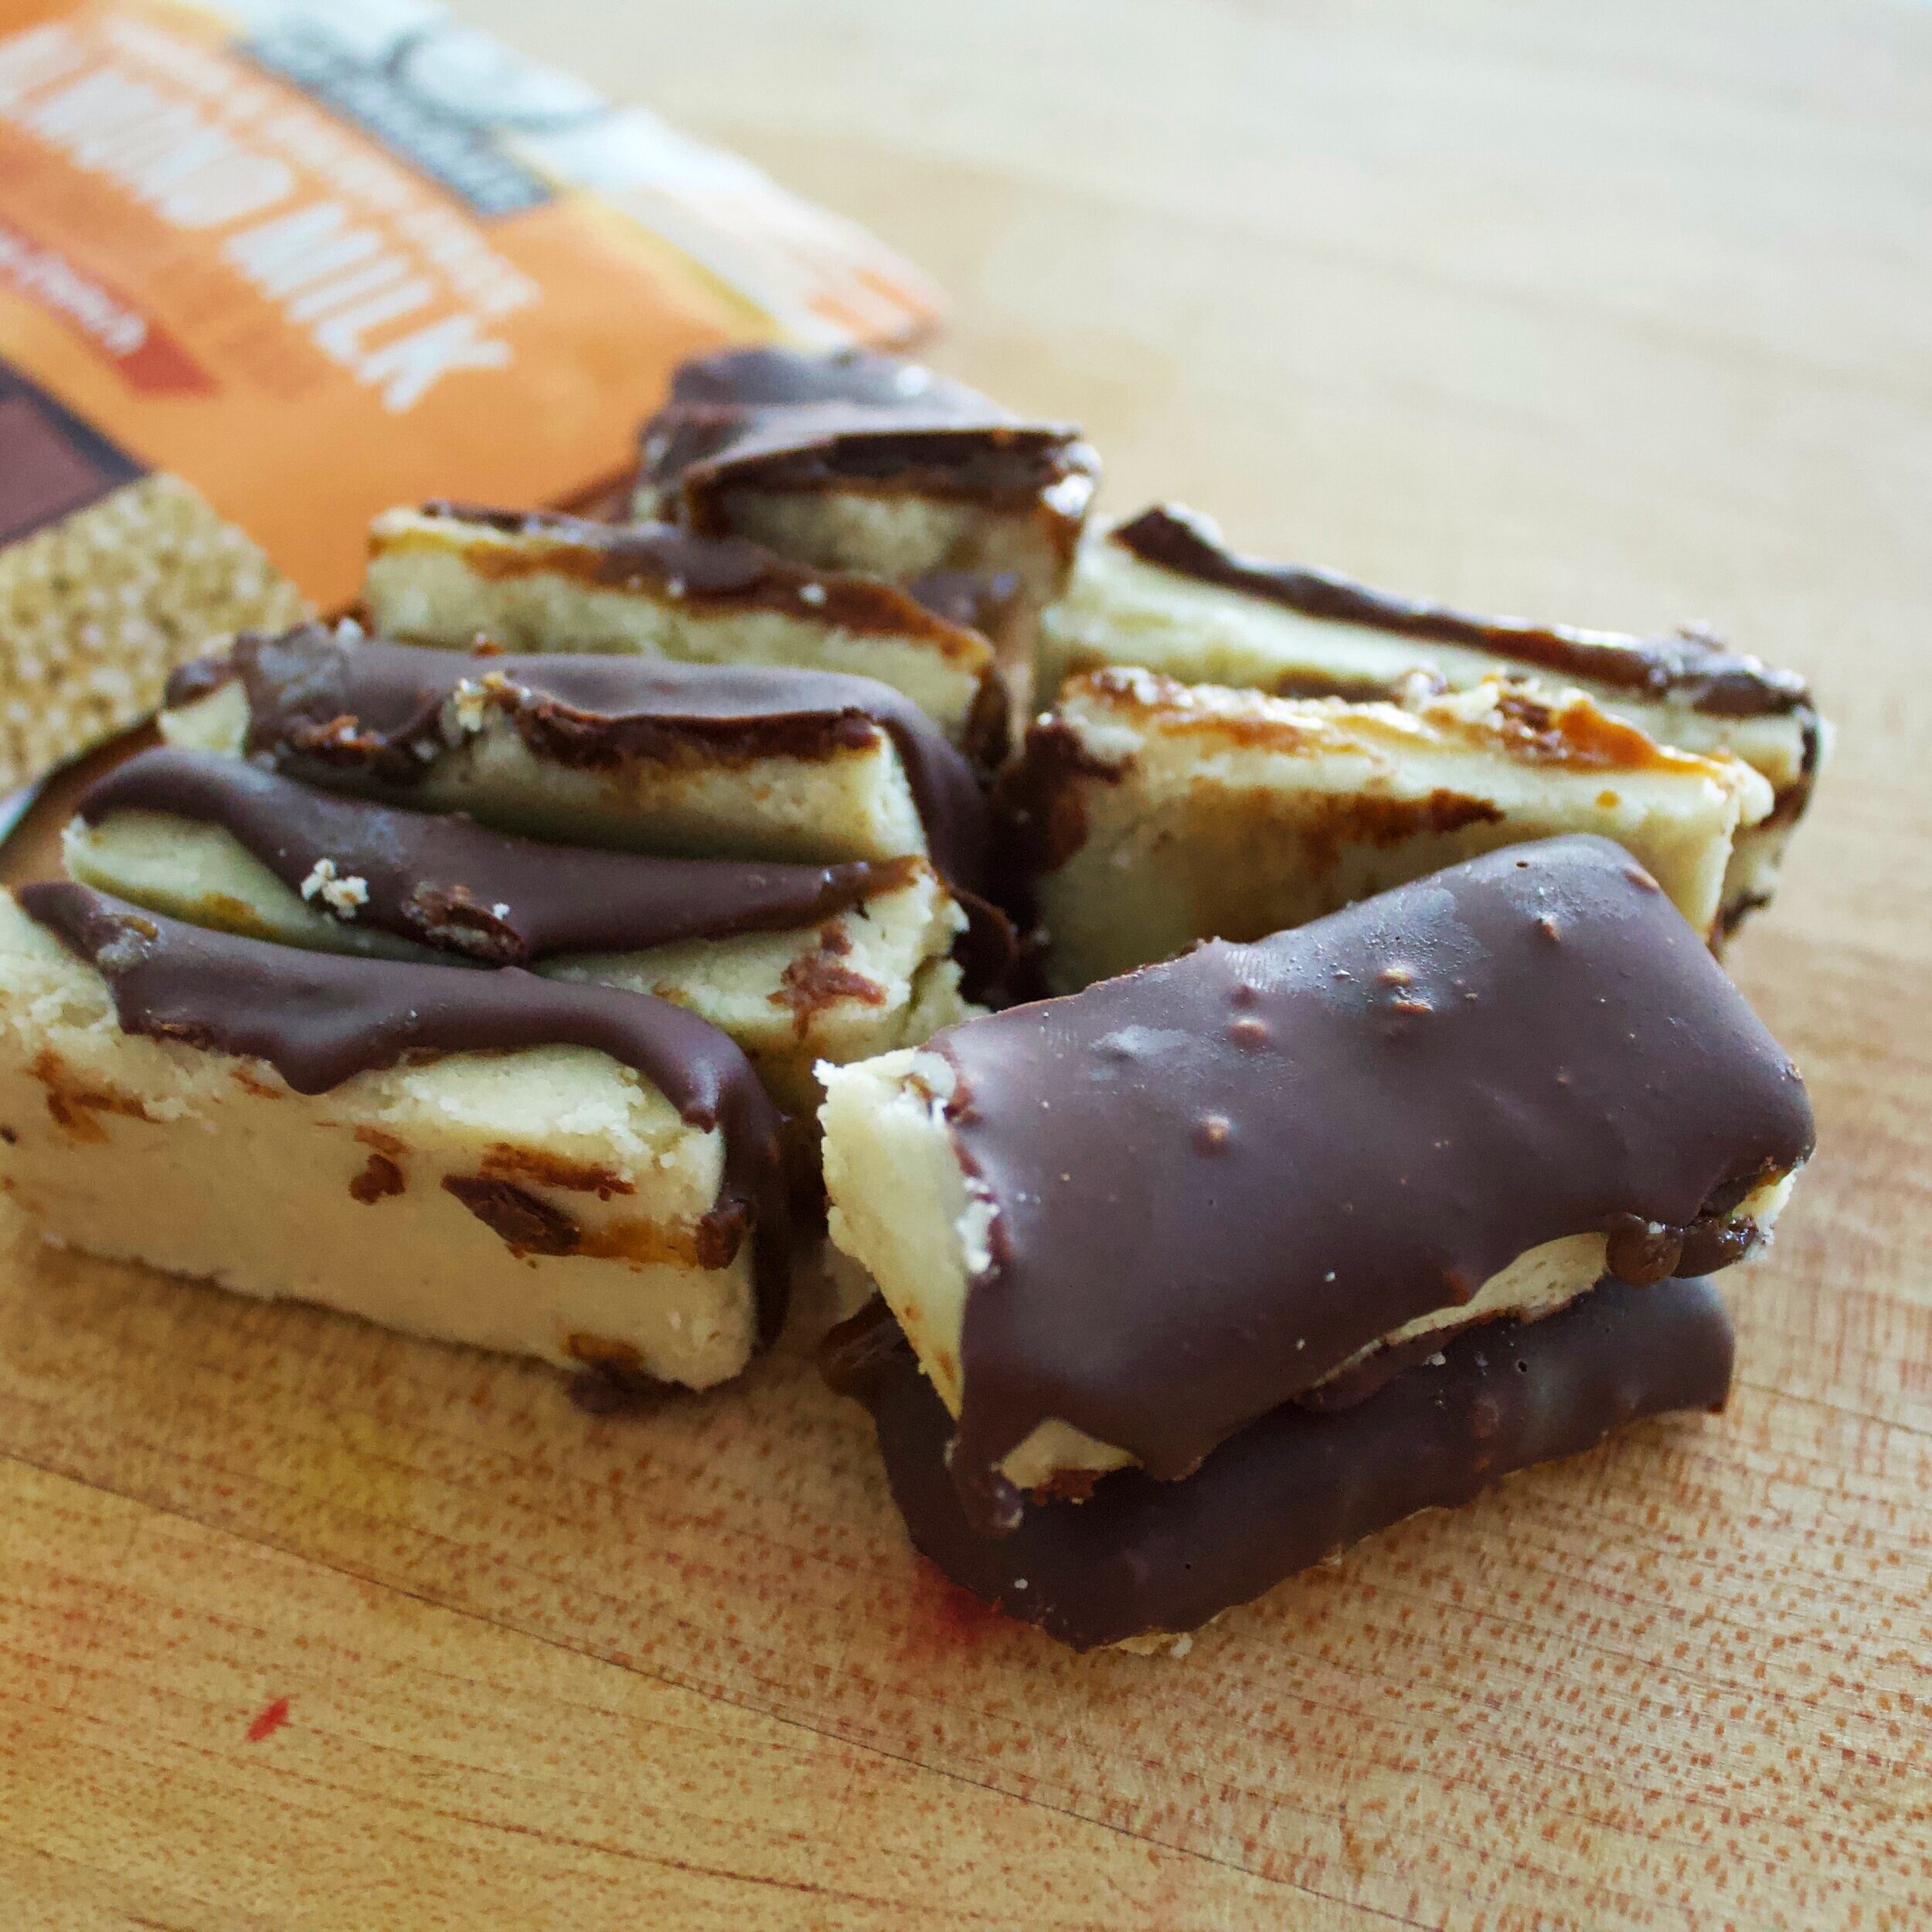
Thank you for reading my daydream above while I completely just skip over the fact that there’s a recipe below! As we want Oliver to be as enthusiastic about life as possible, having it start with food should be no surprise! This little dude sat with me as I made these, which also means it is fast AF to throw this together!! The shortbread crust? Takes maybe 4 minutes. The caramel? 5 minutes. While that is all setting up and you melt the chocolate: 10-15 minutes. FAST. AF. Aside from the tahini, which is subtle but has a beautiful aftertaste I might add, the star of this is the chocolate. Heck yes, I am talking about the Almond Milk Taza Chocolate (heart eye emoji). IT’S DAIRY FREE YET TASTES LIKE FULL ON MILK CHOCOLATE. What?! How?! It’s incredible. Also with nothing but 6 common ingredients, so dang satisfactory!! I have no words except go get yourself some!

And there we have it. My daily thoughts for you with a quick recipe for some tahini caramel bars attached! Thank you for humoring me, now go scoop up your baby, your dog, yourself, and treat yo’self to some of these incredibly delicious and perfect and smooth bites of heaven!

IMG_8763.jpg
IMG_8767.jpg
IMG_8775.jpg
IMG_8777.jpg
IMG_8800.jpg
IMG_8808.jpg
IMG_8819.jpg
IMG_8828.jpg


shortbread ingredients

Almond Flour—9 oz, or 2 C

Salt—1 tsp

Honey—2 TBL

Coconut Oil—3.75 oz, or ½ C


process

In a large bowl, combine almond flour and salt

Melt the honey and coconut oil together

Add this melted mixture to the dry ingredients

Mix until combined, should hold together when pressed

Press into an 8x8” pan, freeze while making the caramel


tahini caramel ingredients

Tahini—3 oz, or ¼ C + 2 TBL

Coconut Sugar—3 oz, or ½ C

Vanilla Extract—2 tsp

Oat Milk—1 oz, or 2 TBL

Cinnamon—½ tsp


process

In a small saucepot, combine the tahini, coconut sugar, vanilla, milk and cinnamon

Allow to simmer for 2-3 minutes

Let cool slightly, and then pour on top of the shortbread

Put back in the freezer for the caramel to firm up


chocolate ingredients

Taza Almond Milk Chocolate—5 oz, or 2 bars

Coconut Oil—1 TBL


process

In a heatproof bowl, combine the chocolate and coconut oil

Melt and mix until homogenous

Pour over the caramel layer, put in the fridge to set

Once set, remove from the pan/dish and cut into desired size and enjoy!


Bon Appétit!

Caramel Stuffed Gingerbread Cookies

Happy Week Before Christmas!!

Now I know that everyone is making gingerbread houses, gingerbread men, ladies and dogs, but how about some stuffed gingerbread cookies?!

Yes. Stuffed I say, and it gets better. How about filling your cookies with lots and lots of caramel? How about some homemade dulce de leche?

Step aside my gingerbread people; you’ve got a new boss in town!

Ever since I was little, my mom would always make absolutely fabulous gingerbread houses, that we would then decorate incredbily hideous—covering them with every color gum drop, candy cane and chocolate—and then eventually give them to the animals a couple of weeks later so that they could, also, get a nice sugar rush. While the stress of building so many houses (now I believe we are at 10 each year!) is rather overwhelming the day before, come Christmas day when it’s time for the, now, Gingerbread House Contest, we all go crazy! One year my brother decorated it completely in cereal squares; my nieces and nephews usually make theirs the most functional; I like to just coat it in spicy cinnamon candy that I’ll later pick at all night as a snack.

The entire thing is a rather fabulous ordeal, and I would never want to give this tradition up for anything! The endless bowls of candy options and both my mom and I hysterical the day before when the roofs keep falling off lead me to keeping these cookies simple—yet packed with a cooked, sugary goodness!

I like to start with a very simple gingerbread cookie dough recipe. There is just the right amount of spiciness in this cookie, not anything too overpowering, so that you can truly taste each and every spice. While I could have coated these in some shiny white icing and glorious decorations, I decided to put that extra sweetness inside of the cookies!

Yes, like actually inside.

As you all know, keeping a jar of easy, homemade dulce de leche sauce in my fridge is as much a staple for me as are butter and eggs. It is oh so quick, and can be used in a multitude of recipes—like my Ginger Apple Cake, or Semifreddo, or even an insanely perfect topping for Apple Crisp!

Anyways, it also bakes just marvelously inside of these gingerbread cookies, adding just enough sweetness without giving anyone a toothache!

Do I sound old or what...

Don’t have dulce de leche? Want to sub caramels instead? Go for it! Homemade or store-bought works just fine—even chocolate fudge can make an excellent filling. Heck, you don’t even have to stuff these cookies, but I know you won’t regret it if you do!

Gingerbread people and houses will forever have a special place in my heart, and my tummy come Christmas night, but these Stuffed Gingerbread Cookies are a new tradition that I’m starting right now!

ingredients

Butter—8 oz, or 1 C

Brown Sugar—5.5 oz, or ¾ C

Molasses—3.25 oz, or 1/3 C

Eggs—2

Vanilla—0.1 oz, or 1 tsp

Flour—18 oz, or 3 2/3 C

Baking Soda—0.25 oz, or 1 ¼ tsp

Salt—0.15 oz, or ½ tsp

Cinnamon—1 tsp

Ginger—¾ tsp

Nutmeg—¾ tsp

Allspice—¼ tsp

Dulce de Leche—1 can, recipe shown here


process

Cream together the butter and sugar.

Once light and fluffy, add in the molasses.

Add in the eggs, one at a time, and the vanilla.

Sift together the dry ingredients: flour, baking soda, salt, cinnamon, ginger, nutmeg, and allspice.

Slowly add in the dry ingredients to your mixer.

Once the dough has formed, wrap it in plastic and allow to chill for about an hour.

When you’re ready to bake the cookies, preheat your oven to 350˚ F.

This is when it gets fun!

These cookies are delightful without a filling, but adding a caramel or dulce de leche brings them to a whole different level.

You may use store bought caramels, this dulce de leche recipe here, nutella, whatever your little tummy desires!

To fill the cookies: take two equal sized pieces of cookie dough (1 oz for me!), and roll into balls.

Take one of them and make into a small bowl, this is where you will put your caramel.

Take the second ball and make it flat, this will be a cover for your bowl.

Pinch the sides together to seal in your filling, roll to make a seamless ball.

Do this until you have used up all of the dough—should make around 15-18 cookies depending on what size you decide to make, as well as how much of the dough you eat!

Put your cookies on a pay that has been sprayed with nonstick spray, about 3x3, because the cookies will get rather large.

Bake for 13-15 minutes.

Remove from the oven and allow to cool for just a few minutes before eating for a gooey center.


Bon Appétit!

Hard Toffee

After almost 4 months of living in Charleston, things are finally coming together. This past weekend I dragged my fiancé to Home Goods, Pier 1 and Target all so I could get more necessities for the kitchen, obviously. A madeleine pan? Duh. A tiny chalkboard to write cute kitchen sayings? Absolutely. Then this got us talking. This is the first time we have had to buy a table runner, placemats, a vacuum. Gosh, when we were younger, the whole "I can't wait to grow up" thing seemed much cooler!...

Read More