Peanut Butter Cups

"Be softer with you. You are a breathing thing, a memory to someone, a home to a life." - Nayyirah Waheed

Continue reading if healthy dessert to change your life sparks your interest, or your tummy. I mean, that's what's up!

I don't think that I have ever been so patient and thorough with something in my life! I mean, is that so surprising? I'm rather stubborn and impatient with everything I do, because things obviously have to happen now or it's never going to get done! In all of my self love and kindness I've been practicing as of lately, patience is still something I can't seem to get a grasp on. While I'm very aware that most things, recipes included, will take many attempts, trial and errors, test batches, until you're 99% satisfied with it (because, I mean, we can always improve, right?!), I always want the first try to be perfect, no matter what it is!

Take my running for example. When I signed up for my first marathon, I was 100% sure that I could qualify for Boston because I could keep that pace for 10 miles, so why not 26.2? HAH yeah Katie, joke is on you. It's going to take some damn work! Heck, even when I'm doing any type of cross-training work, at the end I'm always like Hey, why don't I have ripped arms and a 6 pack? ... seriously, Katie, patience. The same goes for just about everything with me. You could throw me in a boxing ring, hand me a book in another language, ask me to plant an entire vegetable garden, and I'll almost always feel the urge to get it correct on the first try. What happens when I don't? I give up for a few days, then say some nice things to myself and go back to it, humbled a bit and feeling renewed.

One would think that after doing this on repeat - like Drake's Nice For What has been on for about 5 days - I would finally learn, but hey, go figure that self compassion takes a minute! That is your lesson for the day: be kind to yourself, have a bit of patience, don't be so damn judgmental with every little, or big, thing you do that isn't perfect. If I was perfect all of the time, didn't trip over myself, spill food and drinks constantly, never ever chaffed when I ran, always remembered to put on deodorant... then I think that would be a bit dull! Mistakes are good, they're learning experiences, they help shape you, figure out your strengths and weaknesses, likes and dislikes, make you human! 

SO. After that, what I'm trying to say is that these raw peanut butter cups are my little patience victory! I tested out 4+ recipes, I ate 4+ recipes...that's a lot of nuts in a weeks time! After lots of tiny tweaks, these are near perfect. Honestly, I even count these as a healthy snack. The base is very granola bar-esque: lots of nuts, lots of seeds, spices, a touch of sugar - I'd eat that all on its own! The filling, just nut butter + coconut sugar + coconut water = YES PLEASE! And a drizzle of chocolate on the top. Yum. This satisfies your sweet and salty cravings without a doubt. I like using pink Himalayan salt, the bigger chunks, and just breaking it down slightly in the food processor. This allows for you to get some rather salty bites, but with a sweeter filling, it's exactly what is needed! I love to keep these in the freezer, makes it more dessert-like to me! Also, it's beginning to get hot AF in this beautiful southern part of the country, so I'll take everything on ice!

Two raw desserts in a row? I know, weird, right?! As I'm learning more about my body and the things it just cannot digest anymore I'm slowly starting to learn what actually makes me feel amazing! Sure, a Reese's PB Cup is incredible, having 1, 2, or 8 won't kill me if it's not every day, but how about I recreate it to be nutrient packed, healthy and still have the same flavors? Girl, I do not see ANY harm in this, especially if my husband eats them two at a time!

base ingredients

Almonds—½ cup

Cashews—¾ cup

Hemp seeds—2 TBL

Chia Seeds—1 TBL

Cinnamon—1 ½ TBL

Coconut Sugar—1 ½ TBL

Maca Powder—½ tsp

Collagen Powder—1 scoop

Pink Sea Salt—½ tsp


filling ingredients

Nut Butter—2/3 Cup

Coconut Sugar—1 ½ TBL

Coconut Water—¼ Cup


topping ingredients

Chocolate—3 oz, or 1 bar

Coconut Oil—1 tsp


process

In your food processor, pulse together all of your base ingredients.

Feel the mixture to make sure that when you press together with your fingers it holds, but that it isn’t so wet that liquid is dripping.

Press into the bottom of a muffin pan, spring-form pan or whatever pan works best for you! I have found the putting these into a muffin pan works best for a little bit of portion control…

Freeze for ~1 hour.

For the filling, again, add all of the filling ingredients into the food processor. Pulse until combined.

Always taste this part before adding on top of your base. If you are using a simple nut butter that has very minimal ingredients, including sugar, you may want to add in a teaspoon+ more of the coconut sugar. Also, depending on how thick your nut butter is when you first start, you might want to add in more coconut water. The goal here is to have the filling be a bit looser/creamier so when you freeze it, it is not difficult to bite into.

Pour on top of your base, spread evenly—if you have used the muffin pan, start with 1½ teaspoons of the filling for each, then distribute whatever is left evenly at the end.

Freeze ~1 hour.

For the topping, melt the chocolate and coconut oil over a double boiler.

Once completely melted and combined, drizzle over your peanut butter cups. If you have made this in a full pan instead of the muffin pan, just pour all of the chocolate over the filling, spread to cover evenly.

Freeze ~1 hour.

Pop out, cut and enjoy!

Yield: 1 dozen


Bon Appétit!

Raw Protein Bites & Life Update

As we listen deeper to our bodies and elevate our health as a value in our lives, we walk the Earth attuned, resilient and nourished.

As it may be obvious, I have taken a bit of time off from the wonderful world of KBB. Since my last post in December...yes, it's been about 5 months, damn!...I've been oddly busy. Between training for my second marathon (woo 23 minute PR!), exploring our new little neighborhood, finding my husband the perfect bicycle, getting into a new workout routine and finally taking care of my cranky, stubborn body, this website has been forgotten about.

From December all the way to the marathon in late March, that training was consuming me in every single way. It's true that yes, this training cycle was SO much healthier: not restricting my body when it needed food, not staying out way too late on nights when I had a 20 mile run the next morning, getting in stretching, strength training...honestly, there's no way that it could have been better! Even had an incredible running support group, Sugar Runs men and women! It also opened my eyes up to all of the foods that my body rejects that I've been forcing it to deal with for years! The "down" side to marathon training? I'm tired, don't want to do more activity than is assigned, I put my runs first, and I find it acceptable to eat heaps of nuts...like by the handfuls.

It's no secret that I love pushing my body to the limit, like let's get my heart rate way up, run for hours, lift heavier than I'm used to — being in constant competition with myself (fitness-wise) is so much fun for me. But, since coming off of a difficult race — if you even think about doing the Georgia Publix Marathon in Atlanta, be kind to yourself and TRAIN. ON. HILLS. What race has steep rolling hills for the last 6-8 miles?!!? Yeah. I have warned you! — I've decided to take a step back and get my mental health back up. Am I running a half in June? A 10k in July? Why, yes I am! But including yoga, more meditation, oodles of strength training and slightly kinder words to myself during my runs has been such a positive change the past 3-4 weeks.

So, as my fallen toenails are finally growing back and my blisters are healing, I'll be taking a slightly different approach to my day-to-day! Am I still going to be obsessed with running? Still going to push myself a couple of days per week? Hell yeah, who would I be without it?! But I'm also going to become equally as in love with slowing things down, which, if you know me, sitting still is rather difficult unless I'm asleep.

To start in on this new little journey, I want to share one of the yummiest things to come out of this kitchen of ours — like, it tastes so rich it's got to be bad, but girl, it's NOT! I've jumped on the protein ball/raw snack train, and mmm mmm mmm, I'm not getting off. Ever. While the top 4-5 ingredients are a must-have for a delicious base, the rest are all optional add-ins, but I highly recommend! These raw balls have been such an incredible addition to my morning, whether in smoothies, my afternoon sweets craving, something I can quickly eat while at the bakery where I'm surrounded by a million croissants, all buttery and soft and flaky and screaming my name...

...Anyways, as you can tell, it's a healthy and filling alternative to many snacks that I would tend to grab otherwise! And, if you can stay focused for an entire 10 minutes (unlike me), you'll have these raw snack balls faster than it'll take you to drive to your local bakery, purchase 5+ pastries, and eat them all in your car — absolutely no shaming if you do that sometimes, too!

So, please enjoy this recipe below, and as for the future of KBB? I will be adding in some more lifestyle pieces, some healthier dessert ideas, and, as always, weekly doses of our adorable dog, Raleigh, as I want this to be a place of comfort. Where if you're having some rather unpleasant nights after eating too much cheese and ice-cream, you can bet I'm in the same boat and will share all of those tips and tricks! 

ingredients

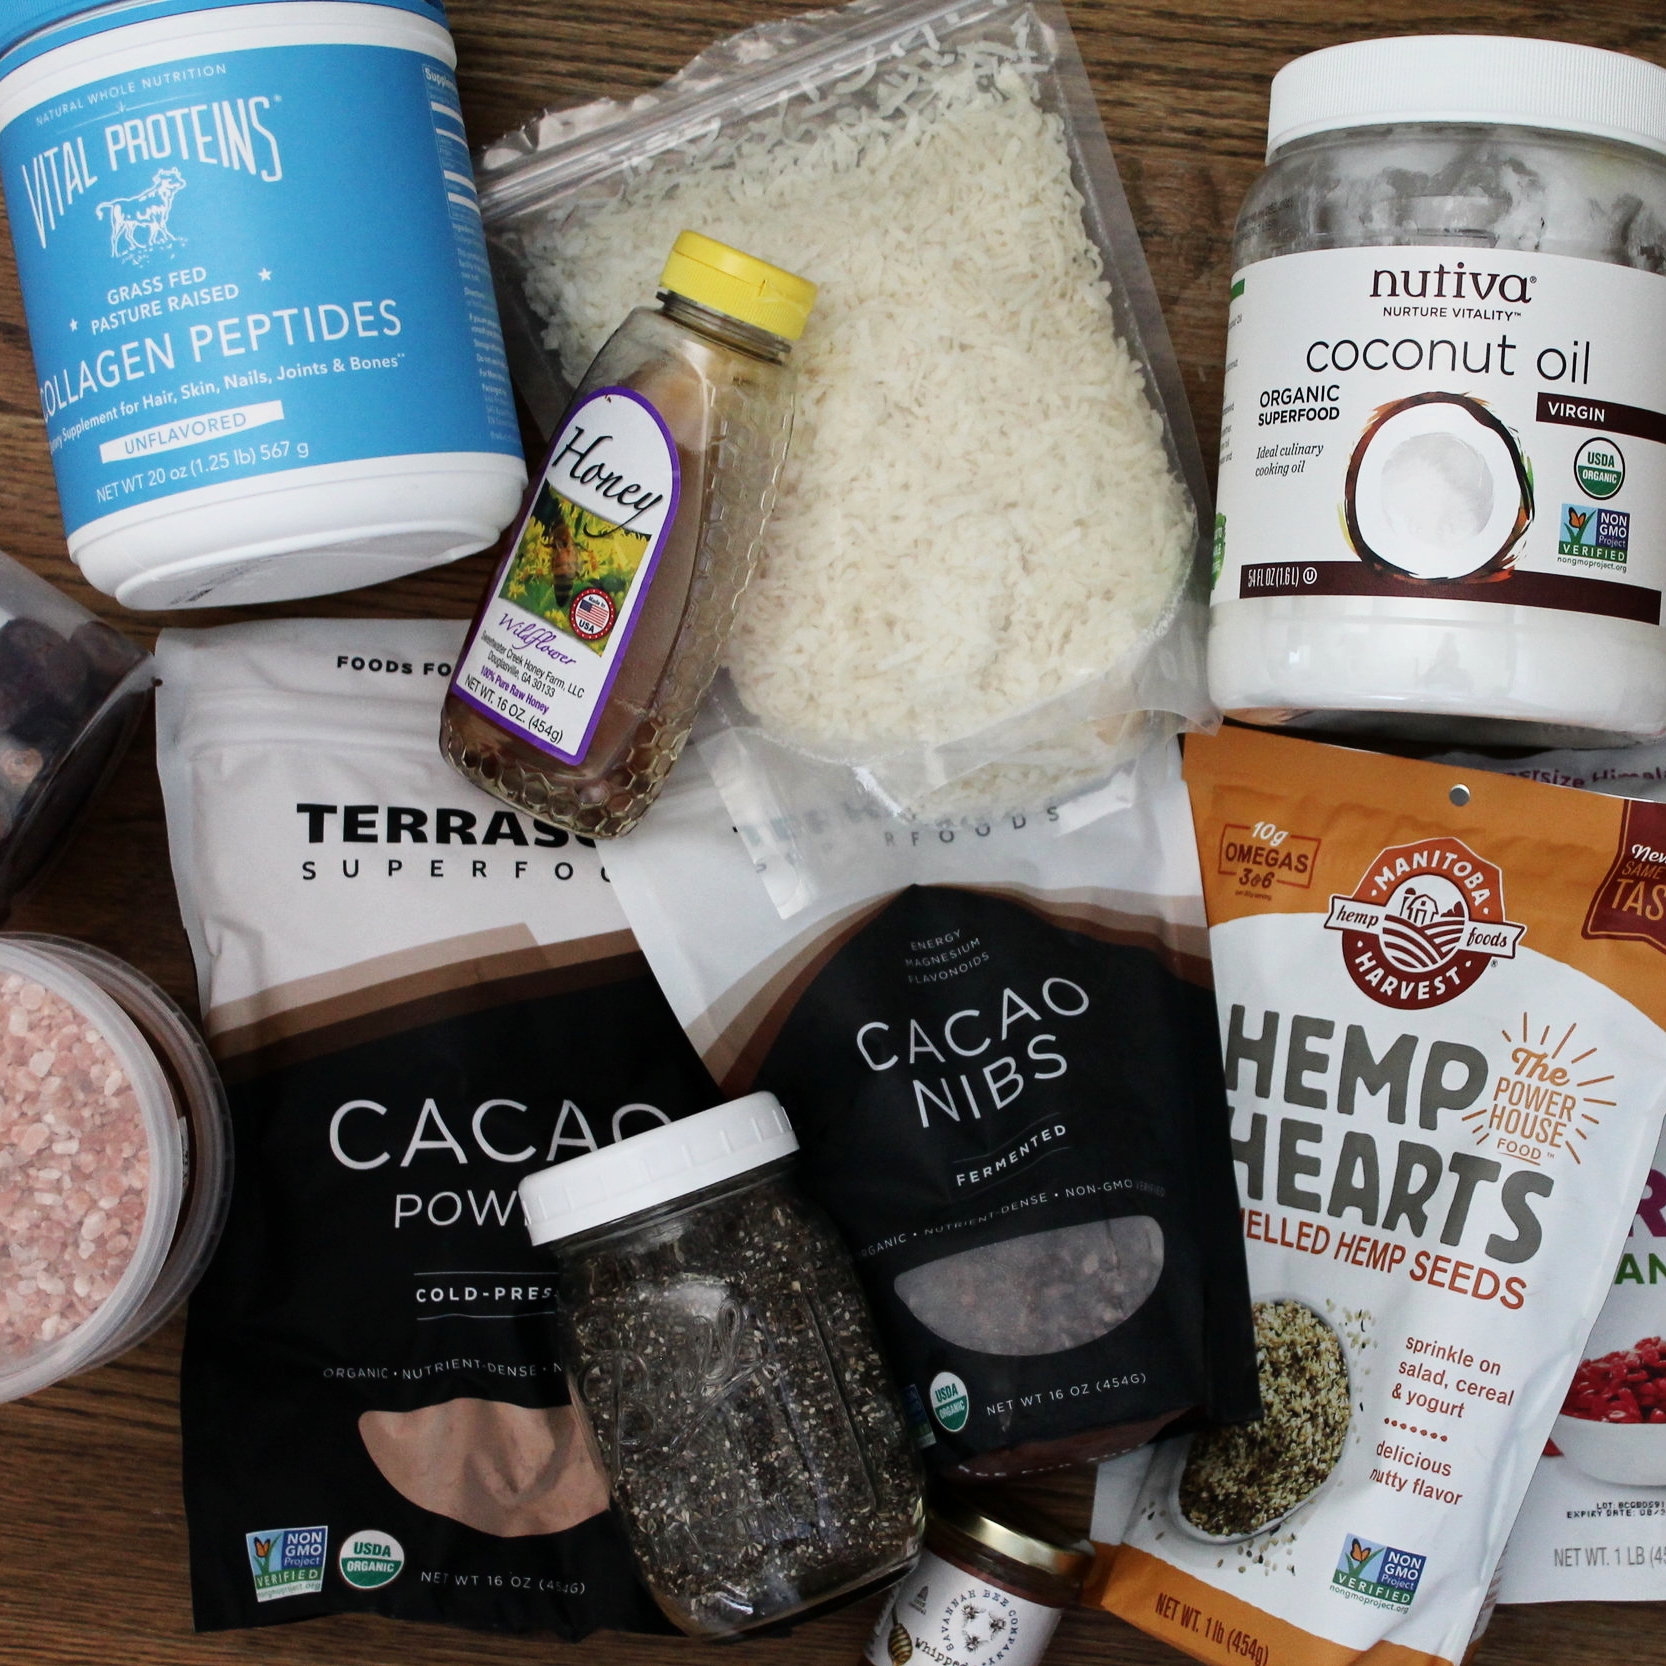
Dates—2 cups, pitted and soaked

Collagen or Protein Powder—4 servings

Cacao Powder—1 cup

Almond Meal—3 cups

Coconut Oil—2 tsp

Honey—¾ cup

Cinnamon—1 TBL

Pink Sea Salt—1 tsp

Maca Powder—1tsp

Chia Seeds—1 TBL

Flaxseeds—1 TBL

Cacao Nibs—2 TBL

Almonds—¼ cup


process

Place your pitted dates into a heatproof cup; pour boiling water over them until covered to soften, about 5 minutes.

While the dates are soaking, put the collagen or protein, cacao powder and coconut oil into your blender or food processor. Add in the soaked dates + 2-3 TBL of the date water. Make sure to save the water, as you may need to add more later on!

Add in the almond meal (or any nut flour you prefer), honey, cinnamon, salt, maca, chia seeds, flaxseeds, cacao nibs and almonds.

Blend.

At this point, you can taste for flavor and consistency. If it is too dry, add in another tablespoon of the date water. Too wet? Add in more flour. Not feeling the taste? Some honey will sweeten it up, some cinnamon will add a bit of a kick—you choose!

Once they are at their perfect consistency, which is slightly sticky, but not too much that you can’t roll them, roll into about 2” balls.

Then roll all of your little bites in some coconut—can be unsweetened or sweetened, definitely preference—or no coconut at all!

Place in a sealed container in the fridge, and enjoy for a perfect pre workout snack, with a smoothie, an afternoon pick me up!

Makes: ~25 balls


Bon Appétit!


Gingerbread Scones


Good Morning Y’all! Happy Monday!

It’s always crazy to me how quickly December comes every year. I basically beg for the year to hurry up so that December 1st will be here so I can start my chocolate advent calendar (yes, I’m a child), display all of our Nutcrackers, watch FAR too many YouTuber’s Vlogmas (not-so-secret obsession), and basically just radiate Christmas for 25 days. And now it’s already December 4th.

WHAT?!

Yeah, it’s a shock to me, too. That means there’s 3 weeks until Christmas…4 weeks until the New Year…insert every panic sound, face, reaction that you can.

Enough of the fear, and let’s get back to this wonderful holiday season that’s upon us!!

With that, I decided to change-up my little gingerbread obsession! Fun fact: every year growing up, my brothers and I would build gingerbread houses. My mom would make everything from scratch, build them all herself—sometimes I would help—and, while the houses would sometimes have a crooked roof or a falling-in wall, they were always amazing, delicious, the perfect vehicle for gummy bears. My brothers and I, and in later years our nieces and nephews joined in, would cover our houses with chocolates, cereal, candy canes, every sugary candy, sprinkles, you name it! Yeah, I’d eat about ½ of the decorations, but totally worth it!

Now, with those great memories coming up again, I am just craving everything gingerbread and spiced. And, because I’m not my mom with her patience and skill, I’ve decided to throw my need for molasses into an amazing breakfast pastry—scones!

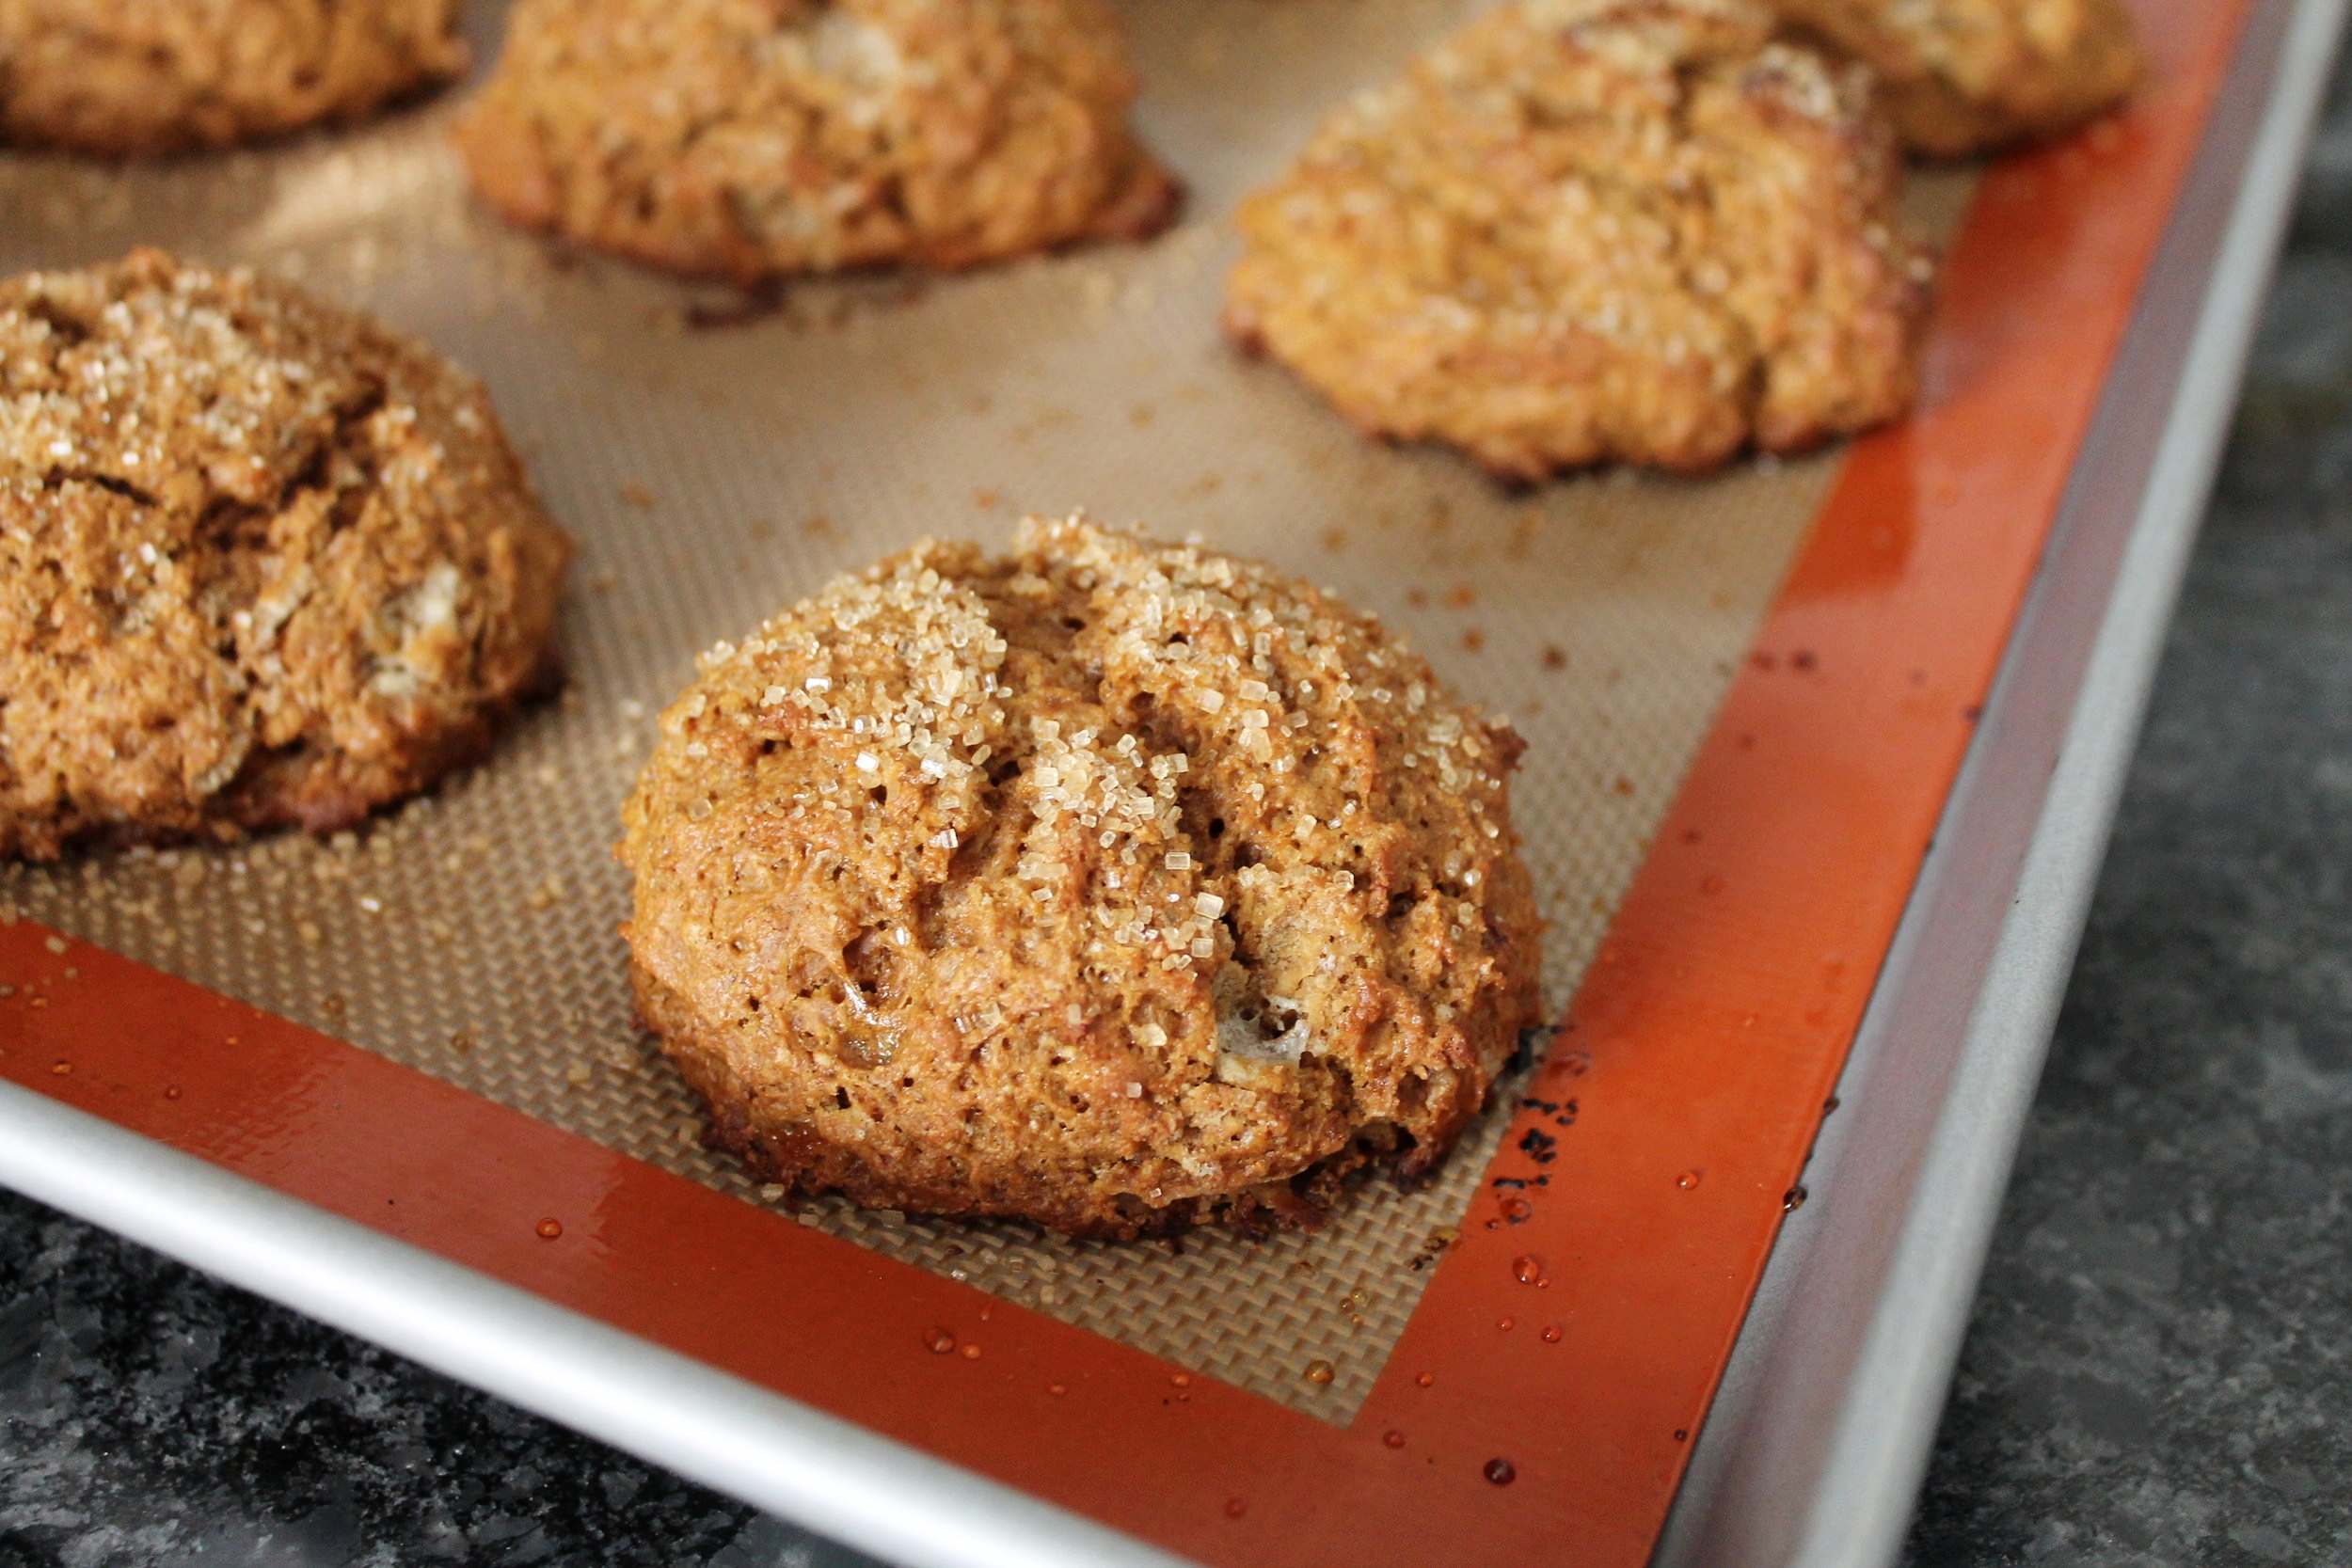
More recently, I’ve realized that scones are probably one of my favorite pastries. At the bakery I work at, we make some of the most delicious—ginger apricot, everything, bacon cheddar—ugh I love them all. They’re slightly sweet, has some dryness, very dense and filling, oh man just give it all to me!! These Gingerbread Scones are no different! It’s basically a gingerbread cookie, minus the adorable man-shape and icing all over, with a bit more moisture and it’s acceptable to eat for breakfast! These scones are filled with lots of spices, some warm brown sugar, and a nice turbinado sugar crunch on top!

I’ve been enjoying them daily with a cup of coffee, and you can’t get any better than that! I mean, maybe put on your holiday tunes, light up that tree, wear your warm cozy onesie and you’ve got yourself a wild start to your day or night! 

ingredients

Butter—4 oz, or ½ C

AP Flour—14 oz, or 2 ½ C

Brown Sugar—2.25 oz, or ¼ C

Cinnamon—1 tsp

Ground Ginger—1 tsp

Ground Clovers—½ tsp

Baking Powder—1 TBL

Salt—1 tsp

Eggs—2

Molasses—5.5 oz, or 1/3 C + 2 TBL

Milk—2.75 oz, or 1/3 C

Turbinado/Coarse Sugar—to sprinkle


process

Cut the butter into small cubes and put into freezer to keep cold.

In a large bowl, mix together the flour, brown sugar, spices and baking powder.

In another bowl, whisk the eggs, molasses and milk.

Work the cold butter into the dry with either your hands or a pastry cutter. Rub the butter into the dry until the butter is about pea-sized, and this entire mixture is homogenous.

Add in the wet, mix until just combined.

Now, you can either shape the scone dough into a large circle and cut into pie-like slices, or, like shown, use a small scoop for your scones.

*Note: These scones do grow in size a bit, so when putting them onto the sheet pan, make sure to give enough space between them!*

After you cut/shape your scones, put them all on your sheet pan, sprinkle with turbinado sugar and put into the freezer to firm up before you bake them! You can do this while you preheat the oven!

Preheat your oven to 425˚ F.

Bake your scones for ~15 minutes, until the bottoms have browned slightly.

Allow to cool (if you can resist!) before enjoying!


Bon Appétit!
Crispy Chocolate Molasses Cookie Crust

HAPPY BEST MONDAY OF THE NEXT 2 MONTHS!!

Why, you ask?—you’re probably thinking that I’m crazy..

Hmm, maybe because Thanksgiving is this week?! And that means for the next 5 weeks it’s basically a holiday celebration every. single. day. Y’all know how much I love the holidays, my husband groans when September/October comes around because I’m just going crazy with my urge to start decorating! No, no, I don’t put a tree up that early (although I do beg!), and I don’t put any Christmas lights up until November 1st, no holiday music until the middle of November…I’m not that bad!

What do I do that’s over-the-top? I light every single wintery smelling candle, I put far too many warm spices into our coffee, I break out all of the cozy sweaters and blankets, and I START BAKING ALL THINGS HOLIDAY THEMED!! How much is too much molasses to eat every single day?

So here you go, a little bit of my September-December obsession for you!

It all started when Roberto and I agreed to host Thanksgiving this year in Atlanta. The savory side of the meal doesn’t really stress me out—I can manage some sides, rolls, salad, while I throw all of the other stuff on my husband (…like the 17# turkey…). It’s the desserts that I was obviously pumped about but also got a little bit of the sweats when planning it all out. The Big 3 had to be in there: Apple, Pumpkin and Pecan. But then I’m like HAH I’m not making your typical pies, that’s ridiculous! Sooooo, yes, I have been over planning on pies this year. Ginger and bourbon apple pie—check. Caramel pumpkin pie—absolutely. And, finally, a chocolate ganache pecan pie with a chocolate molasses cookie crust.

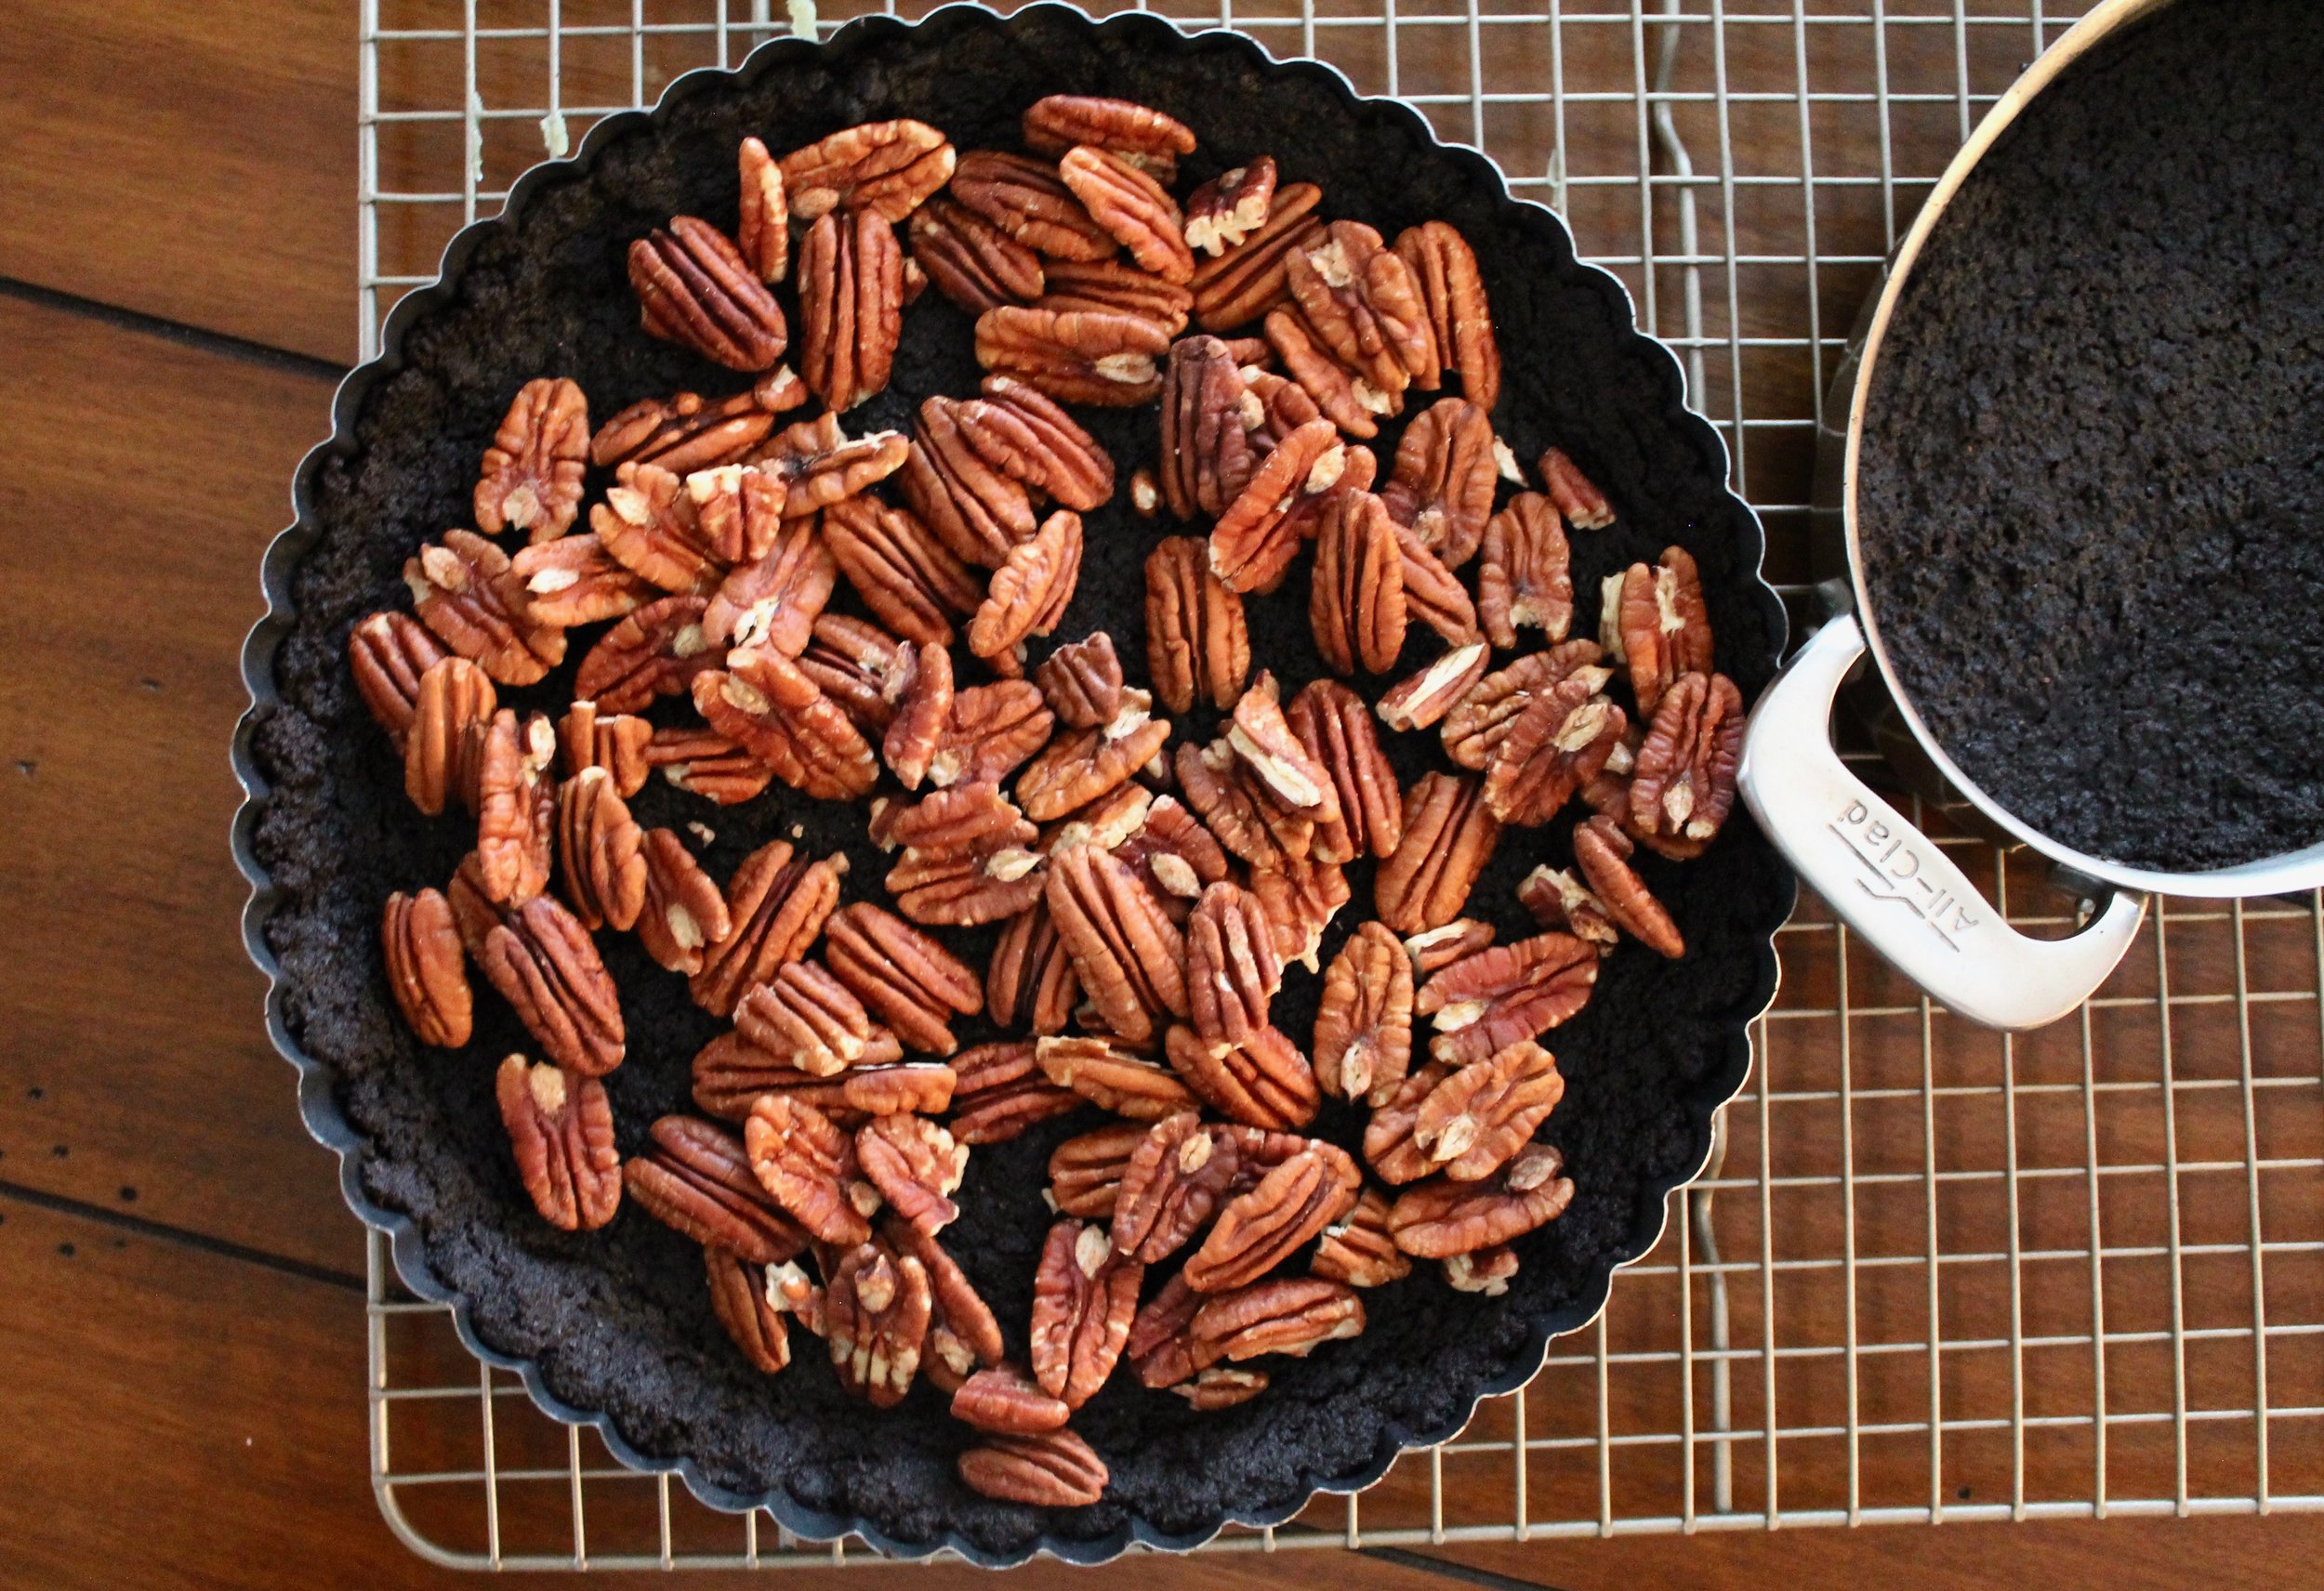
I always love to change-up the crusts that I do for my pies, whether it’s your typical pie dough, a sweet dough crust or, like this below, a chocolate gingerbread cookie ground up into crumbs, mixed with melted butter, then pressed into the tart pan! To me, a pecan pie is just a little bit on the sweet side, so I cut the syrupy filling and swapped it with my chocolate ganache tart filling (added toasted pecans, of course!). With this change, naturally, I had to do something a bit more fun for the crust. A gingerbread crust would have been amazing, but then I was like uhhh a gingerbread cocoa crust?  YES PLEASE!

This crust is spiced like a gingerbread cookie would be, not super, super sweet like a you’d think a cookie crust would be, and then it’s got some yummy dark chocolate cocoa powder mixed in—a win in every category if you’re asking holiday-obsessed Katie!

Here you have it, a little game changer in your Thanksgiving (or holiday!) menu! It’ll definitely be something that will wow your guests, especially if you accidentally cook a dry turkey, under salt your mashed potatoes or only set the table for 9 instead of 10! So, as Thanksgiving can be a little hectic, very loud, maybe some people had more than their share of wine, and others just fall asleep before dinner is even served—this pie will always be a win!

Best enjoyed the morning of, the day after, the next 5 weeks of holiday fun, with great company, a nice deep red, and most likely your stretchiest of pants!

ingredients

Butter—10 oz, or 1¼C

Sugar—7.25 oz, or 1C

Eggs—1

Molasses—2.5 oz, or ¼C

Honey—2 tsp

Flour—9.5 oz, or 2C

Cocoa Powder—1.5 oz, or ½C

Baking Soda—1 tsp

Cinnamon—2 tsp

Cloves—½ tsp

Ginger—1½ tsp

Nutmeg—1 tsp

Turmeric—½ tsp

Salt—1 tsp


Butter, melted—2 oz, or 4 TBL

Cookies, ground—6 oz, or 1.5C

Pecans, toasted—4 oz, or 1C


process

Sift together all of your dry ingredients—flour, cocoa, baking soda, cinnamon, cloves, ginger, nutmeg, turmeric and salt.

In the bowl of your mixer, cream together the butter and sugar until light and fluffy.

Once creamed, add in your egg, molasses and vanilla.

When all incorporated, slowly add in your dry ingredients until just combined.

Wrap the dough in plastic wrap and chill for at least 1 hour in the fridge before baking.

When you’re ready to bake the cookies, preheat your oven to 350˚ F.

Roll the cookie dough into balls about 2TBL’s in size—if you’re using them for the crust, this won’t be as important because you’ll be grinding them up!

Bake for about 12-15 minutes, until no longer ‘wet’-looking.

Allow to cool completely before grinding.

Toast your pecans in a 350˚F oven for about 8 minutes, until toasted. Cool.

When you’re ready to make your crust and tart, combine ground cookies with the melted butter.

Press crust into your tart pan, making sure that it’s about ¼” thick and even on the bottom as well as up the sides.

Bake in a 350˚F oven for about 12-15 minutes, until the crust has baked and is set.

Put all of your toasted pecans in the bottom of your cookie crust.

Make your chocolate ganache filling (found here!).

Pour into your crust and place into the refrigerator to set up for at least 6 hours.


Bon Appétit! 

Berry Filled Tea Cake

Happy Spring, y’all!

I hope that it has been as warm, beautiful, and blooming where you are as it has been in Atlanta! While I am still not used to this 80˚F weather in April and now even warmer in May, I must say that I kind of love all of the life it has brought! Cherry blossoms, hydrangeas, gardenias, the list of stunning flowers that are right outside of our little apartment goes on and on. Even beyond that, the farmer’s market season is in full swing, everyone seems to be outside running, walking, and biking, the wonderful months of grilling and margaritas have arrived—ahh can you tell I’m so excited?!

With this just incredible time of the year upon us, I wanted to give you a recipe that is just as light, refreshing, bright and simply sweet to enjoy during these warmer days ahead of us!

This cake recipe below is truly perfect for Mother’s Day, summer brunches, showers, BBQ’s—and that’s all because it is not overwhelmingly sweet. I don’t know about you, but when it’s 85˚ outside with about 90% humidity, there’s nothing I want less than a heavy dessert, which is where this idea came about. I’ve replaced any white sugar or brown sugar with honey and maple syrup, giving it a little bit more of a floral and earthy taste to the cake. From there, I used one of my current favorite teas—Ginger Turmeric—and steeped that in a honey simple syrup for a slight twist and a little kick. Lastly, the “barely-there” cream cheese flavor in the buttercream, combined with some lemon extract gives you that pop of citrus that we all crave in the summer, especially with en entire orange worth of zest in the cake! I took this one step farther and chopped up some fresh strawberries for the filling of this cake, because why wouldn’t you want that?!

Et voilà!

This cake is, to me, as lovely and stunning as all of those amazing flowers outside! It adds a nice fresh touch to any party, brunch, heck, even an afternoon snack if you’re me! With a summer that is sure to be filled with lots of dog snuggles, outdoor adventures, weekend getaways and possibly Sunday mornings when you wake your husband up too early for a “beat the sun” run…this berry filled, tea soaked cake, is exactly what you’ll be craving!

cake ingredients

Milk—4 oz, of ½ C

Canola Oil—3 oz, or ½ C

Honey—4 oz, or 1/3 C

Maple Syrup—3 oz, or ¼ C

Eggs—2

Vanilla Extract—1 ½ tsp

Flour—11 oz, or 2 C

Baking Powder—2 tsp

Baking Soda—½ tsp

Salt—½ tsp

Orange Zest—1 orange


process

Preheat your oven to 350˚F.

Whisk together all of your dry ingredients—the milk, oil, honey, maple syrup, eggs and vanilla.

In another bowl, sift together the flour, baking powder, baking soda and salt. Add the orange zest

Combine the wet and dry, whisking together until just combined.

Prep 2-6” cake pans by spraying with nonstick spray, and then either covering the bottom with a light dusting of flour, or some parchment paper.

Add half of the cake batter to each pan, which should only fill each about halfway.

Put in your preheated oven and bake for 20 minutes, rotating, then another 10.

When fully baked, the center of the center of the cake should spring back nicely when pressed.

Allow to cool completely on a cooling rack until you are ready to assemble the cake.


syrup ingredients

Water—6 oz, or ¾ C

Honey—8 oz, or ¾ C

Tea Bags—4

Salt—small pinch


process

In a small saucepot, combine the water and honey; bring to a light boil, just so that the honey dissolves into the water.

Remove from the heat and steep your tea bags anywhere from 15-30 minutes, depending on how intense you want this honey-tea syrup to be!

*Note: I used a Ginger Turmeric tea for this recipe—it is quite subtle but adds a great warmth and spice to the sweet syrup, but the options are endless!*

Once you remove the tea bags, add the salt.

Allow to cool completely before using it on your cake!


buttercream ingredients

Butter (room temperature)—10 oz, or 1 ¼

Cream Cheese—4 oz, or ½ C

Vanilla Extract—1 TBL

Lemon Extract—1 tsp

Milk—1 oz, or 2 TBL

Confectioner’s Sugar—27 oz, or 5 ¼ C


process

In the bowl of your mixer, using the whisk attachment, cream together the butter and cream cheese until verrryyyy smooth and creamy—this should take you a good 5-10 minutes depending on the consistency of the butter.

Once smooth, slowly add in the sifted confectioner’s sugar, scraping down after about every cup added.

When all the sugar has been added and the bowl has been scraped down, add in the vanilla and 1 TBL of the milk.

Mix and scrape.

Add in the second TBL of milk.

Turn your mixer on about medium-high so that your buttercream becomes nice and fluffy.

Now it can be used to finish your cake!


assembly

When your cake has completely cooled, trim the tops off of both cakes so that they are flat.

Using the syrup that you made earlier, brush a healthy amount on each cake layer, specifically the side that you just trimmed off—this will keep it nice and moist the longer that it sits!

Using either a plate or a cake turntable, evenly spread on your buttercream—I do about ½” for the center.

*Optional: you may put fresh fruit in the center for even more flavor—I have used strawberries here!*

If you opt to put fruit in the middle, press it down to make sure that it is in place, and you may even want to add more buttercream over the fruit to secure it even more.

Now place the other cake layer, syruped side down, on top of the fruit, buttercreamy center you just created.

Place a good dollop of the buttercream on top and spread a thin, even layer. Do the same with the sides—this doesn’t have to be perfect, and it may have crumbs in it, it is just a base coat!

Place this “crumb-coated” cake in the fridge to firm up for about 20-30 minutes.

Once your outside layer has set just a bit, it’ll be easier to spread on more buttercream, this time there will be no crumbs that get in your beautiful frosting job!

When you have applied the second coating of buttercream and are satisfied with how absolutely beautiful and yummy it looks, decorating it however you wish—I used some dried orange peel that I had kicking around—you may cut into it and enjoy!

At this point, like me, you may have almost forgotten about the surprise of fresh fruit inside—and this, plus the syrup keeps the cake tasting extremely moist!


Bon Appétit!